Project is the basic unit of data that MobiSystems PhotoSuite operates with. Whatever you do in MobiSystems PhotoSuite you do it in the context of a singe project.
You can create an unlimited number of projects that can be easily managed. You can create, edit and save projects as well as delete, export, rename and share ones.
The first time you open MobiSystems PhotoSuite a new empty project is created by default. To create a project:
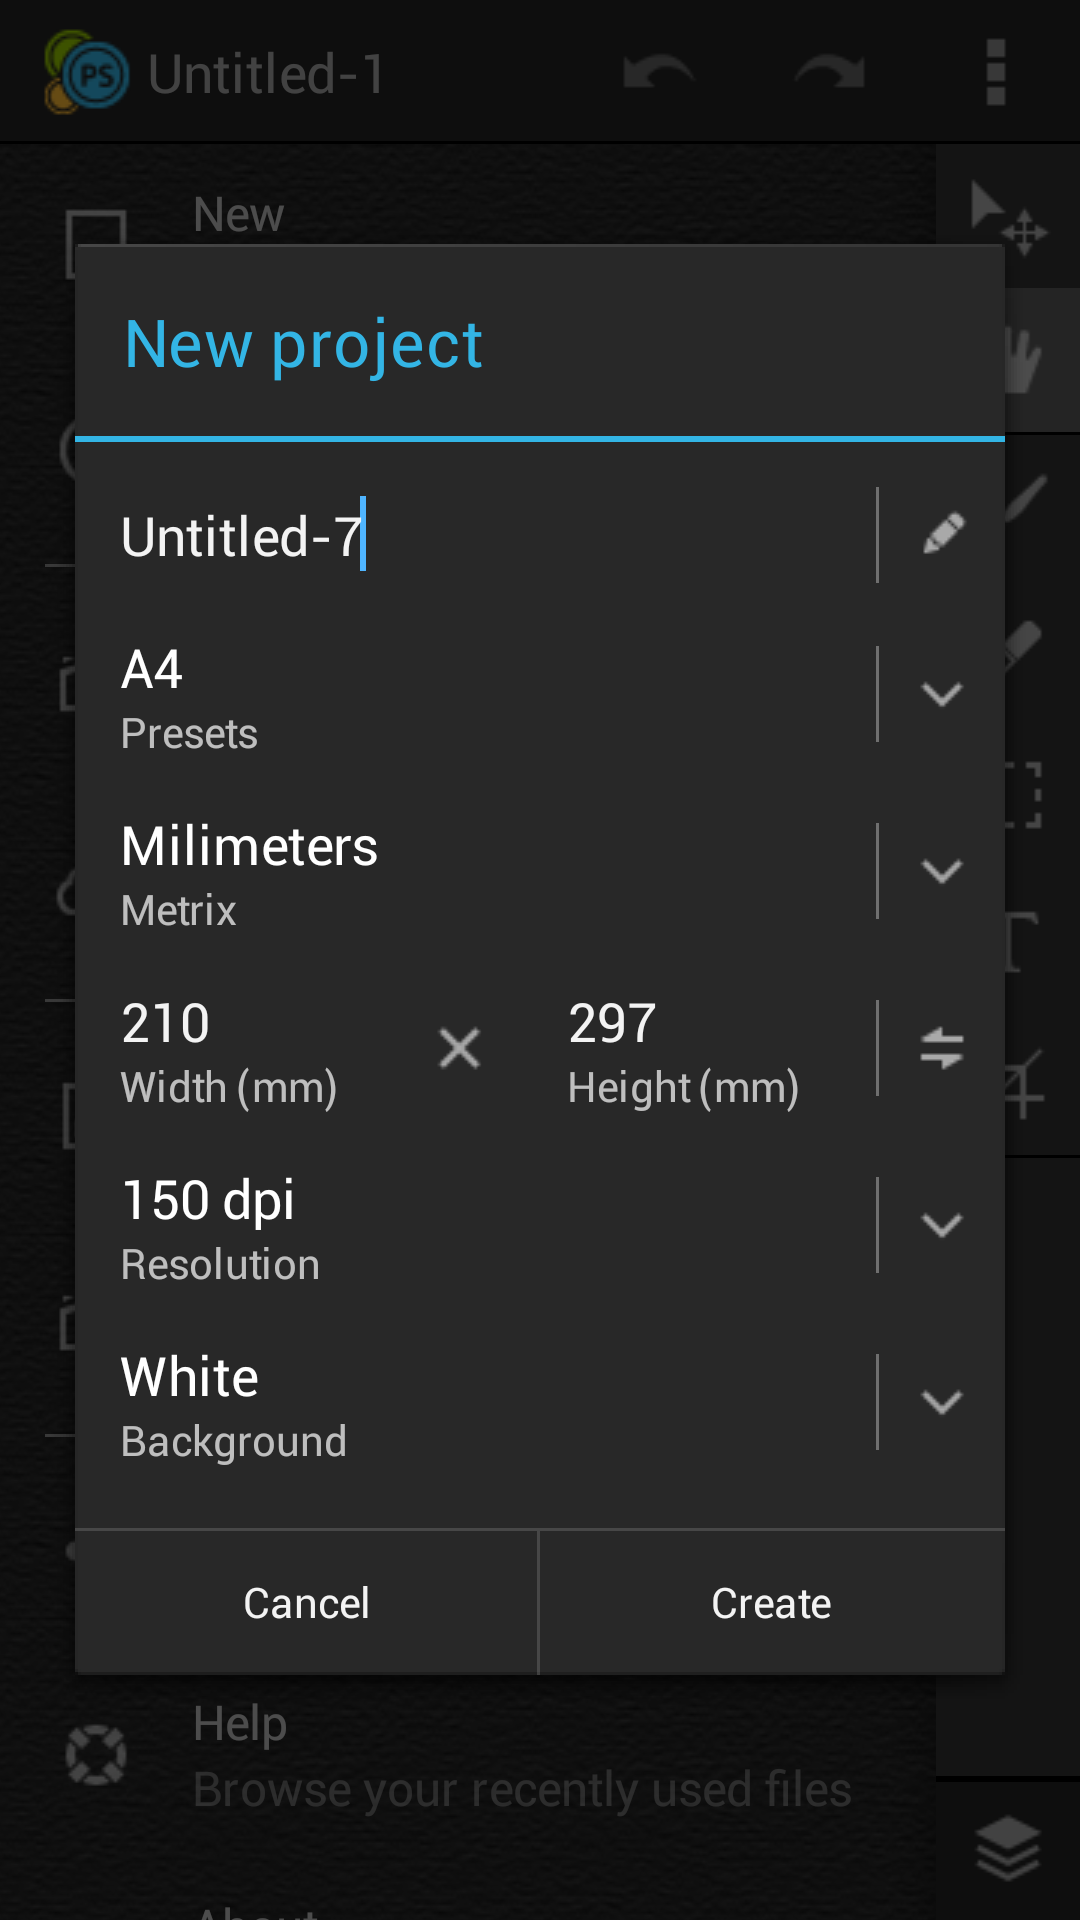
The New project dialog allows you to configure the following properties of your project:
The name of your project should be unique and not empty. All project data will be stored in a directory with the same name on your SDCard.
Numerous standard paper sizes are available to choose from such as A4, A5, Letter, legal, Tabloid and many others. Selecting one of those will initialize the width and the height properties of the dialog.
You have the metrics option in order to configure the project size in the most convenient way for you.
You can use the presets to size up the new project or you can supply custom values in the width/height input fields and use the 'swap width and height' button as well.
Use the resolution option in order to change your project's fineness of detail in the resulting image.
Select the color of the project's background layer that will be automatically created for you.
The project you are working with will be automatically saved every 60 seconds. In order to make sure your data is not lost anyway you should:
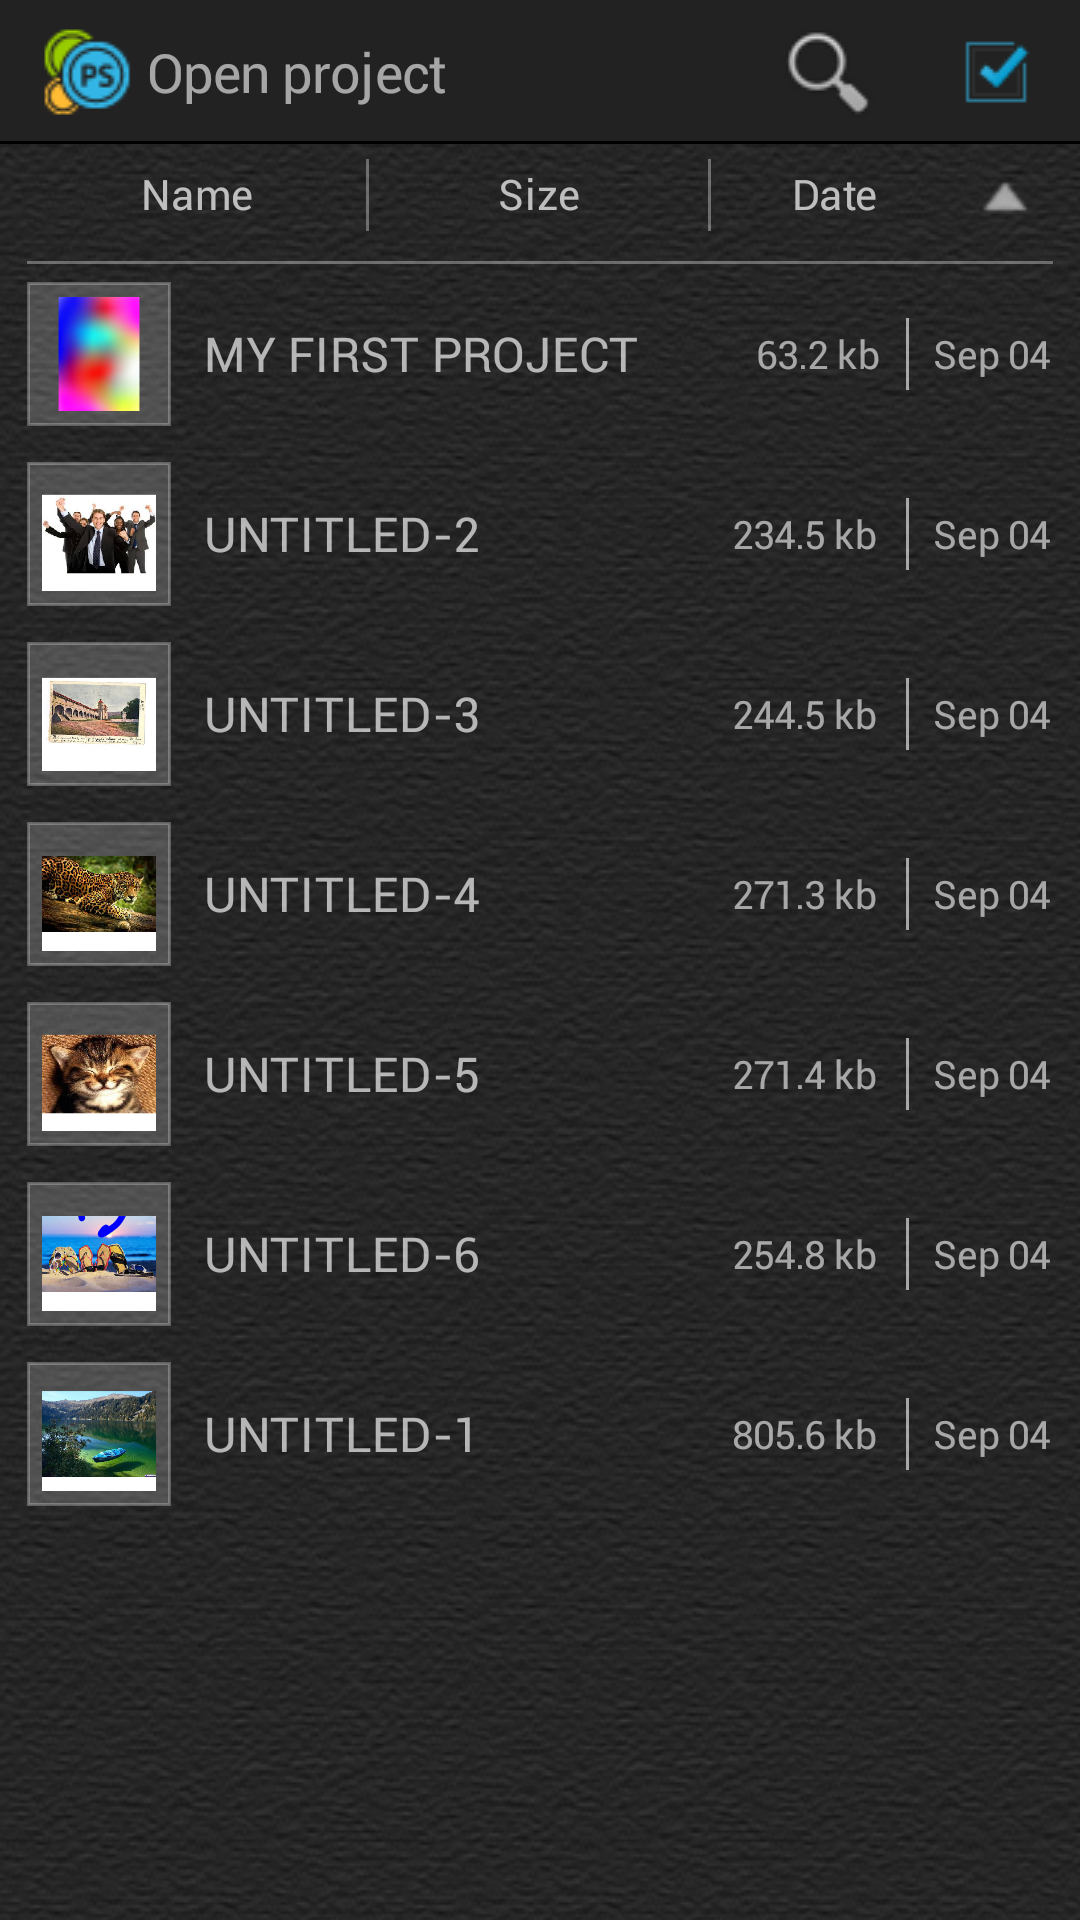
You can create as many projects as you want and always go back to work with the old ones saved on your SD Card.
Open project view allows you to quickly find the project that you are looking for. You can use the search option or sort by name, size or modification date.
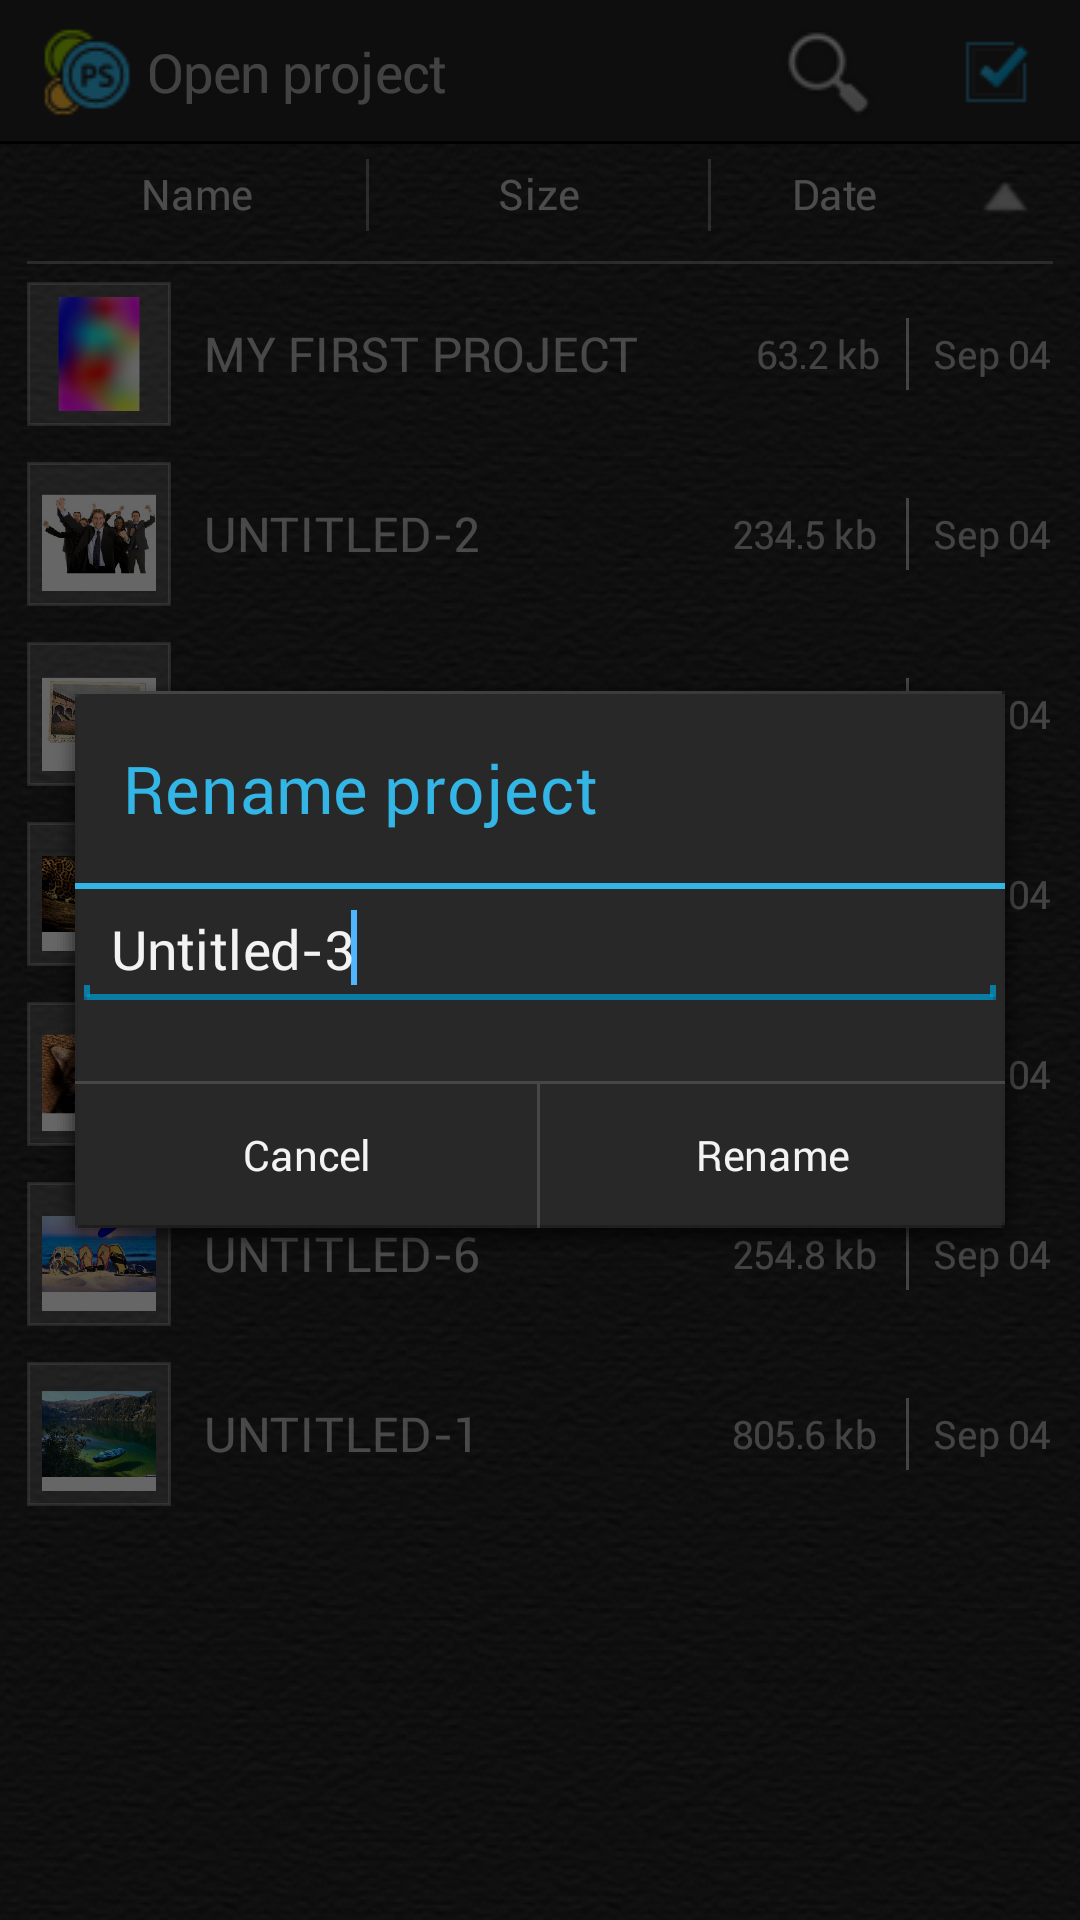
In order to rename a project:
Rename project dialog will appear on the screen allowing you yo type the new name.
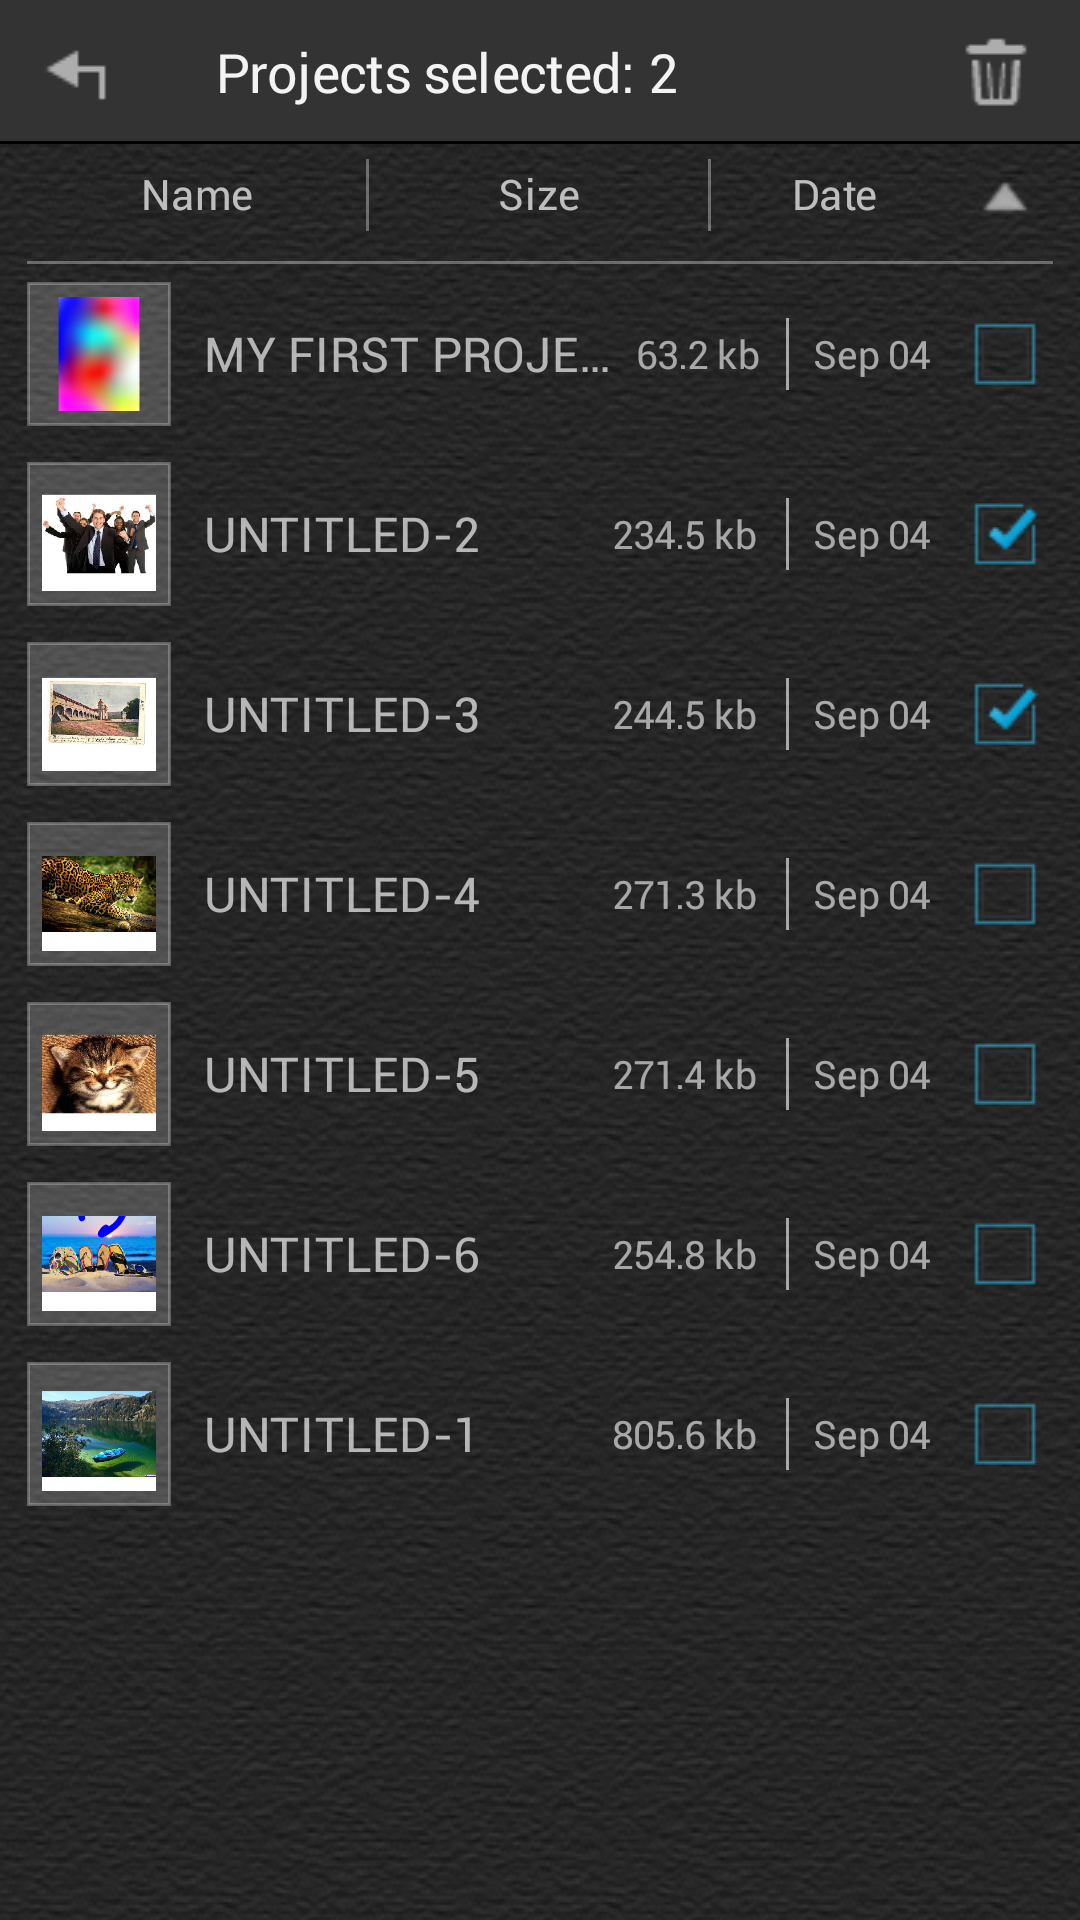
To delete a project:
Tap Delete projects icon on the top and confirm the action.
MobiSystems PhotoSuite allows you to export the project currently opened in one of the following formats:
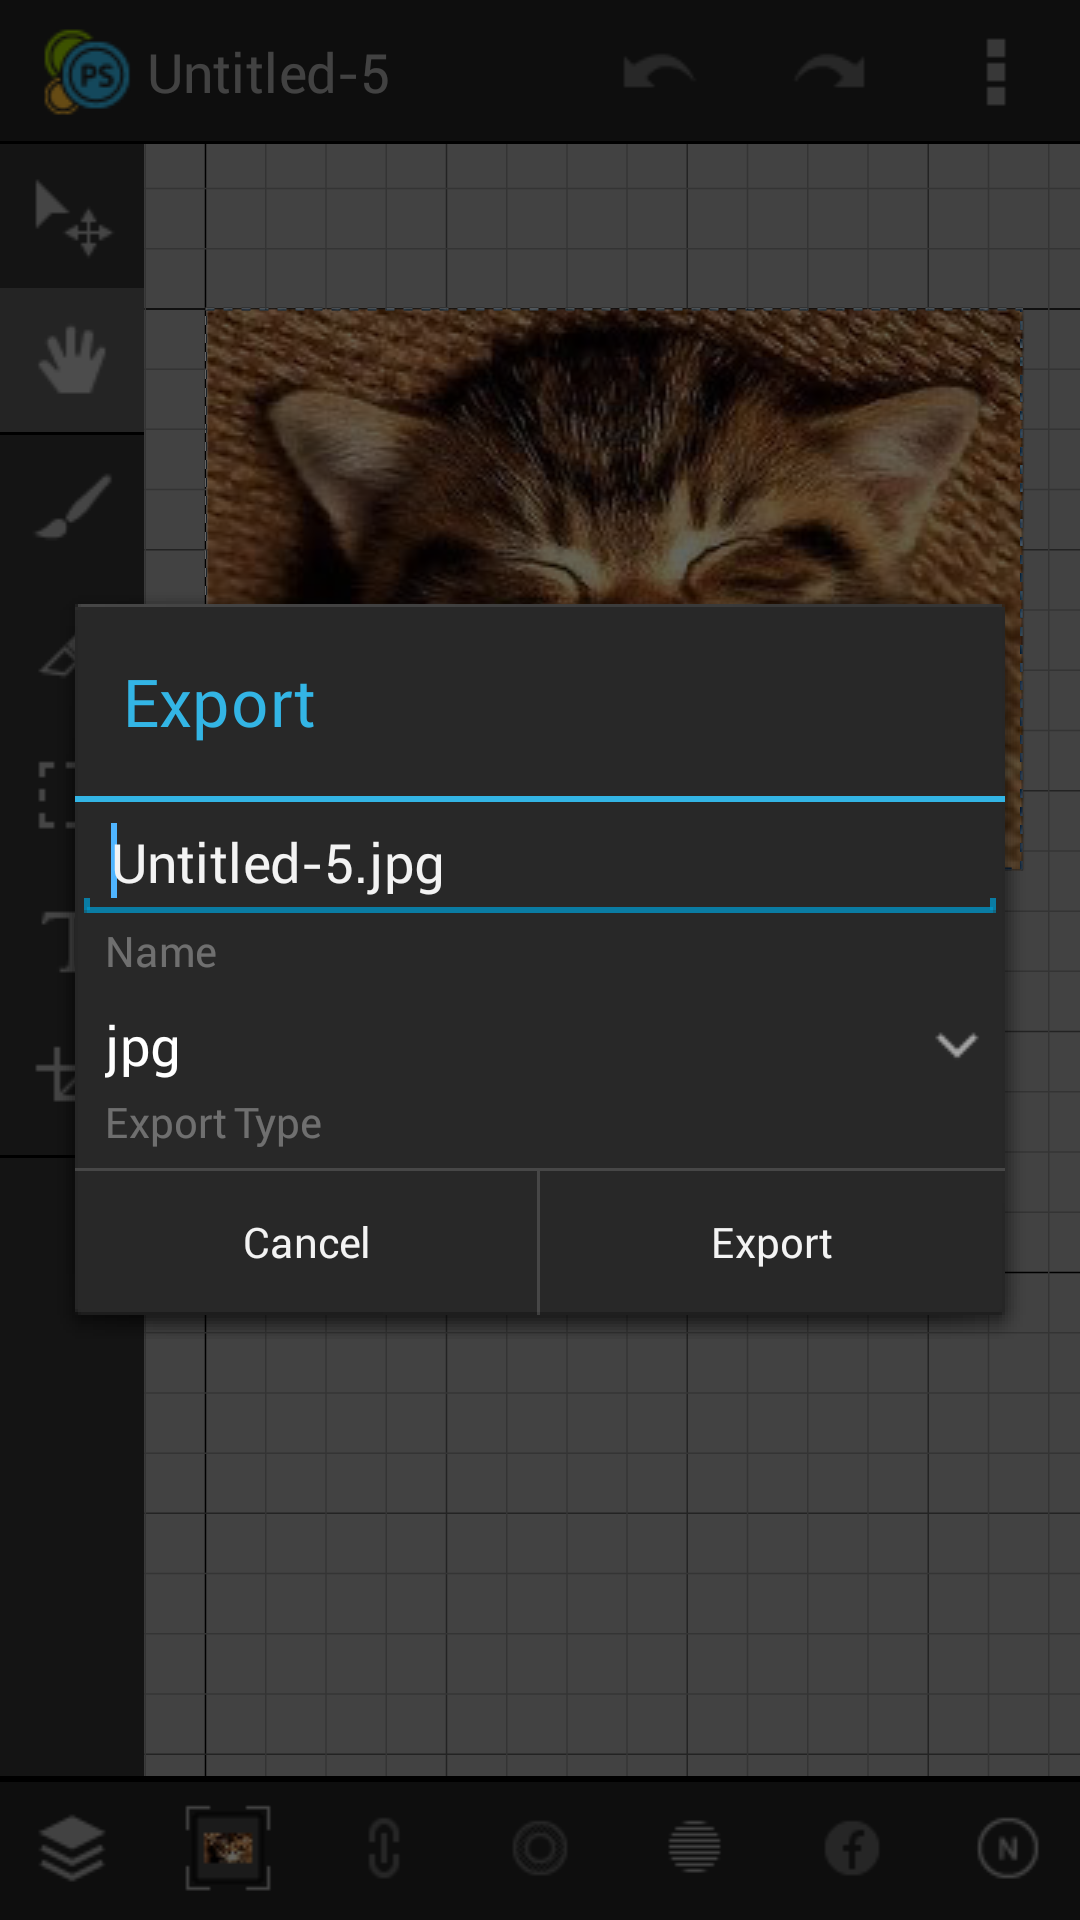
Open the overflow menu → Export → Export dialog
In the export dialog you have to provide a file name of the exported project and the export type.
If the exported type is jpg or png and the size of your project is too large, you will be asked to choose whether you want to:
If you decide to crop the project, you will be redirected to crop view. Then you can precisely define new project bounding box and once again open the Export project dialog.
If you decide to scale down the image, you have to specify the scale percentage. This will not affect the project you are working with, just the exported image.
To share a project, open the left sidebar menu and tap Share option.
In order to share your artwork with a social network of your choice or just to send it as an email attachment, you will have to export your project as jpg or png file. The application will automatically display the Export project dialog once you have selected the Share option from the sidebar menu. Once exported - you will choose the application to which to export the resulting image.
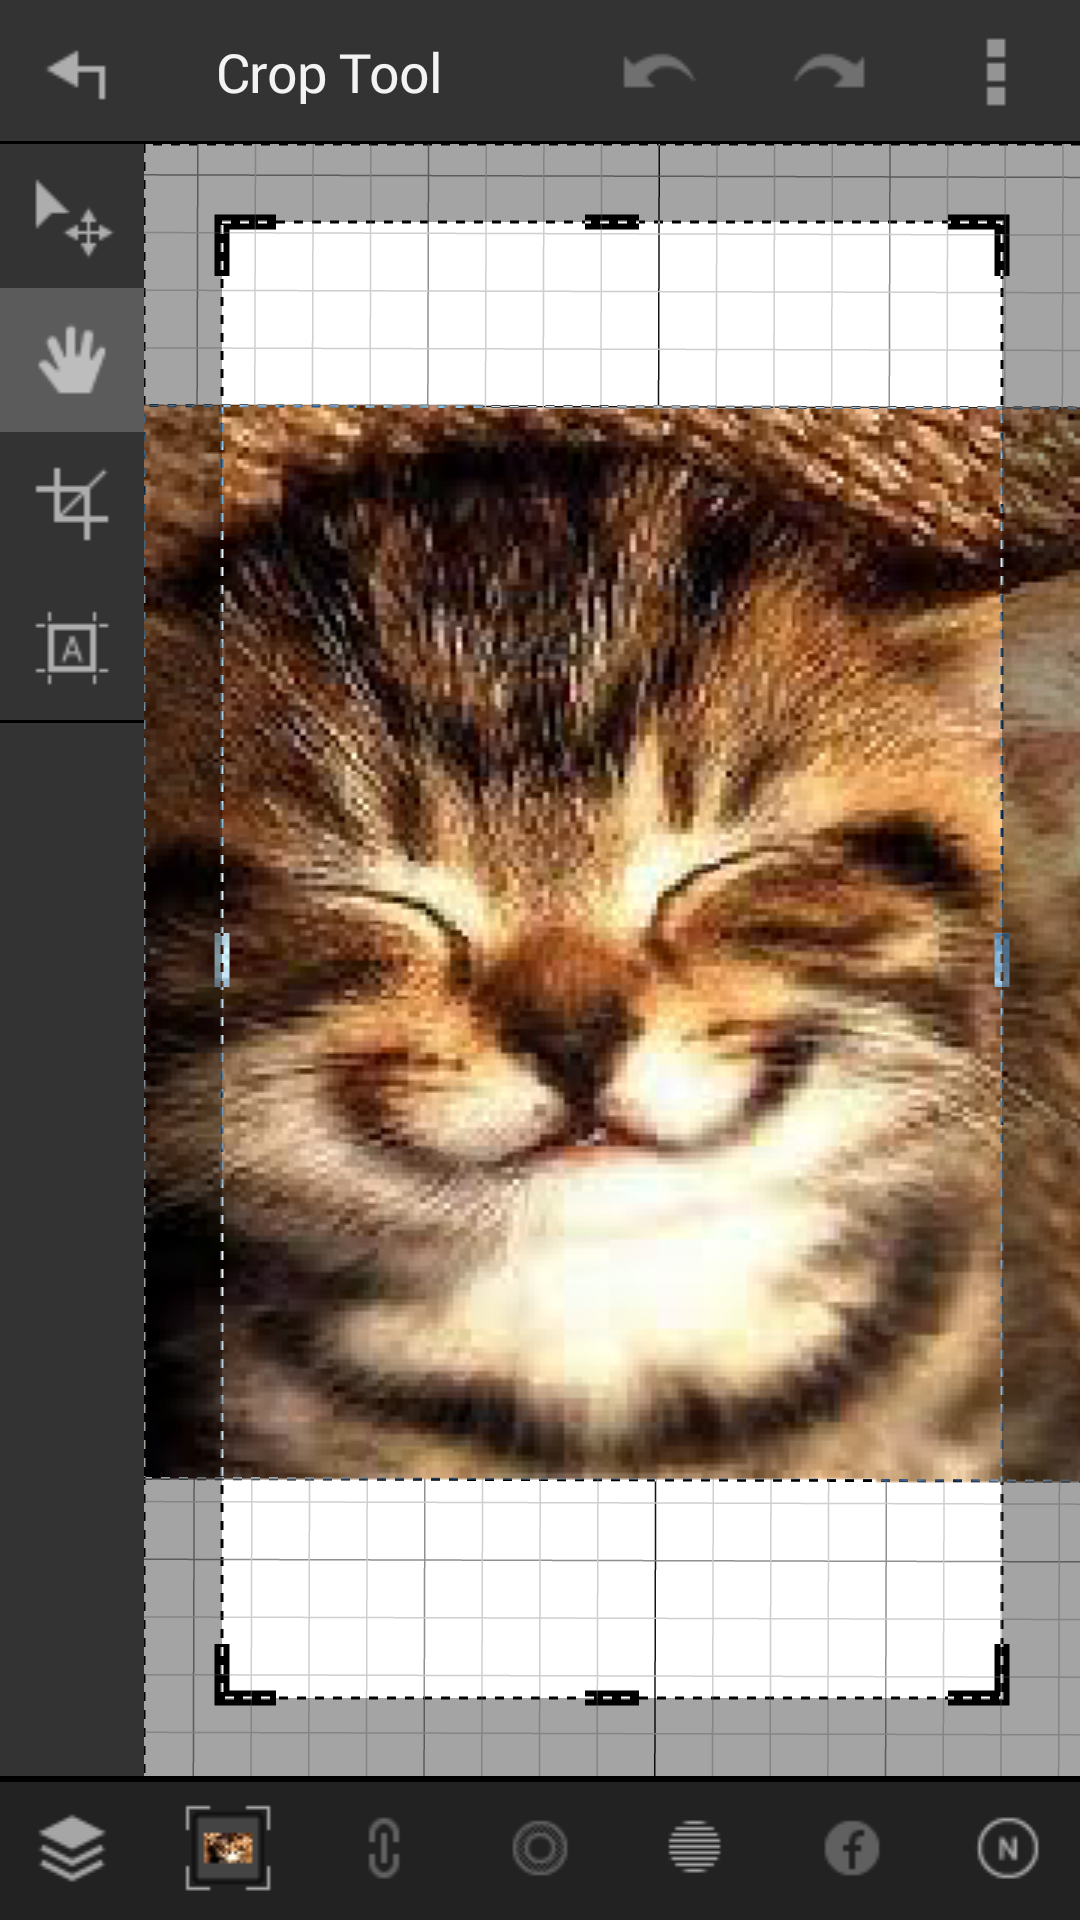
Main editor toolbar → Crop button → Crop view
When you create projects you specify their width & height in advance. However, you are free to change those as many times as you want.
The toolbar in the crop view offers the following tools:
To apply the new cropping bounding box to the project, hit Back button and confirm or dismiss the crop action.
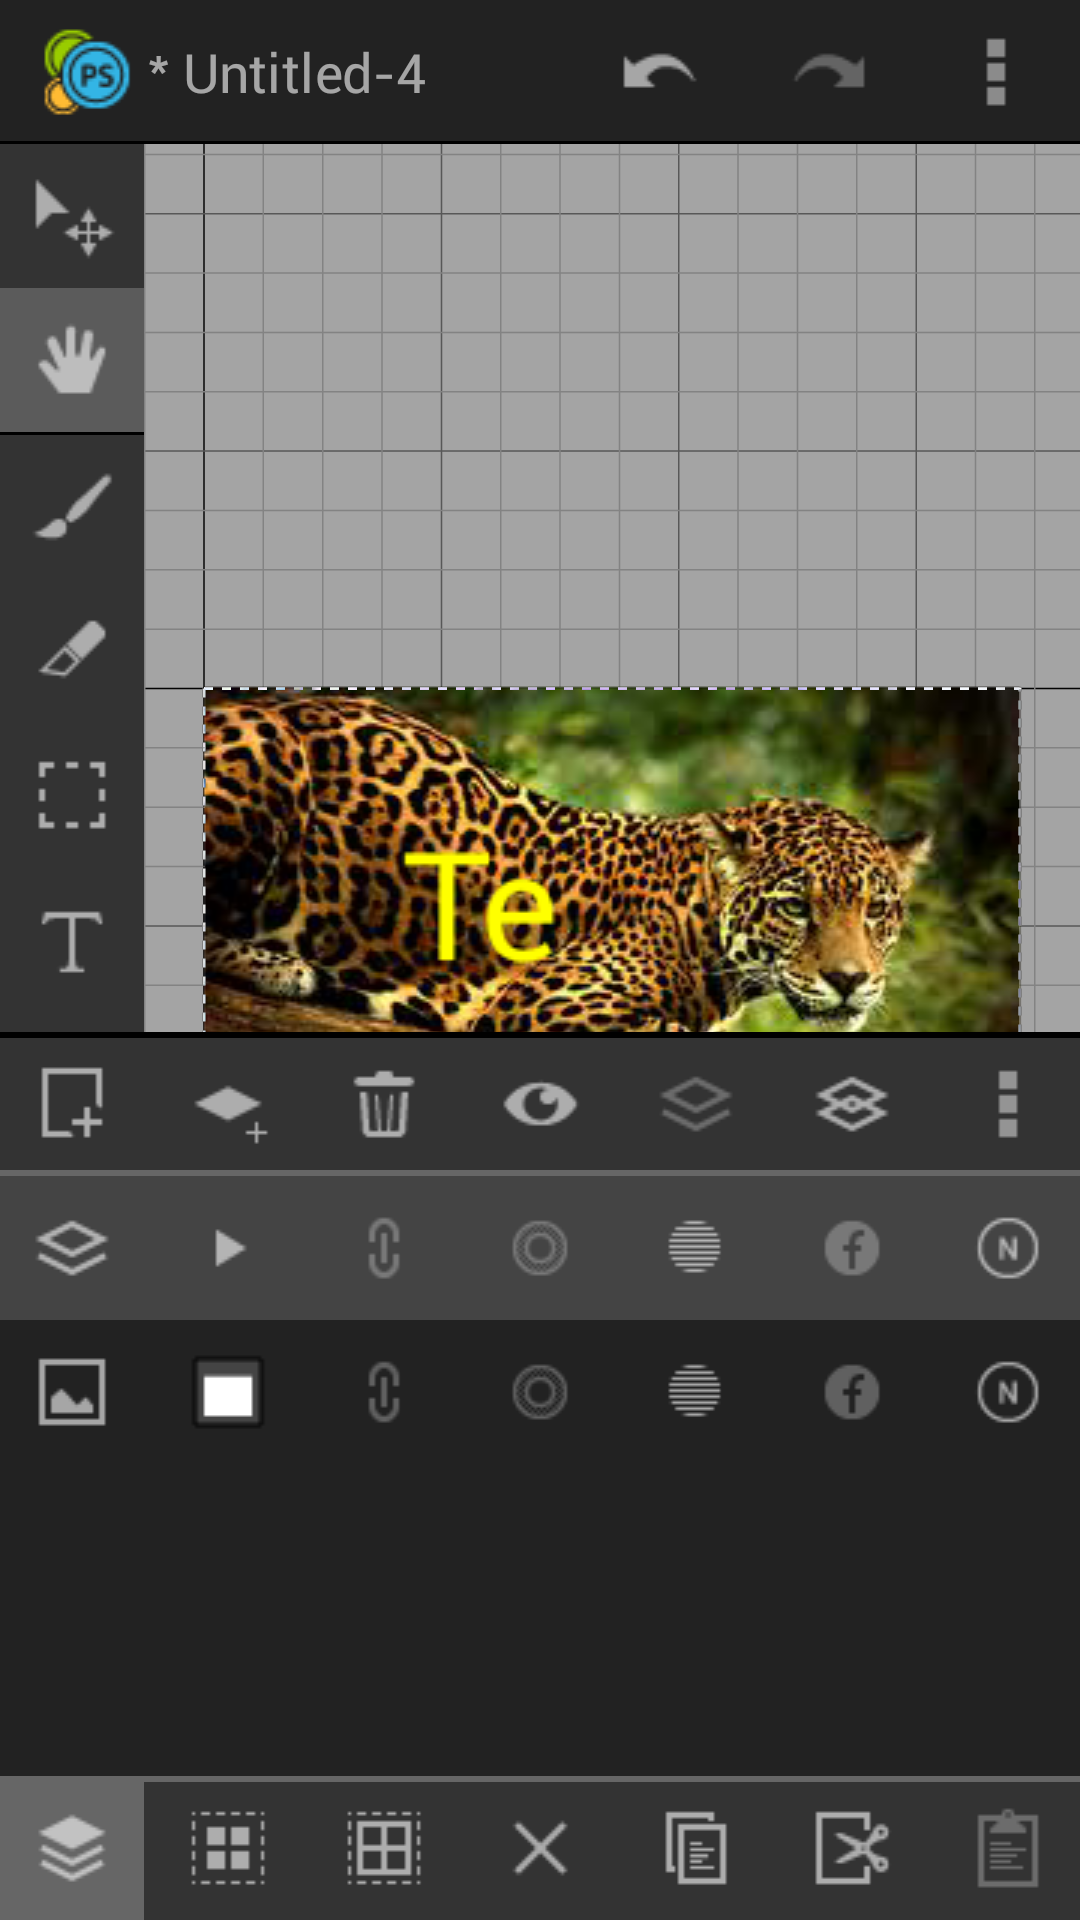
A project consists of one or many layers. You can think of a layer as an independent two-dimensional image that has both opaque and transparent areas. Layers of a project are drawn consequently on top of each other on the working canvas producing the final project image.
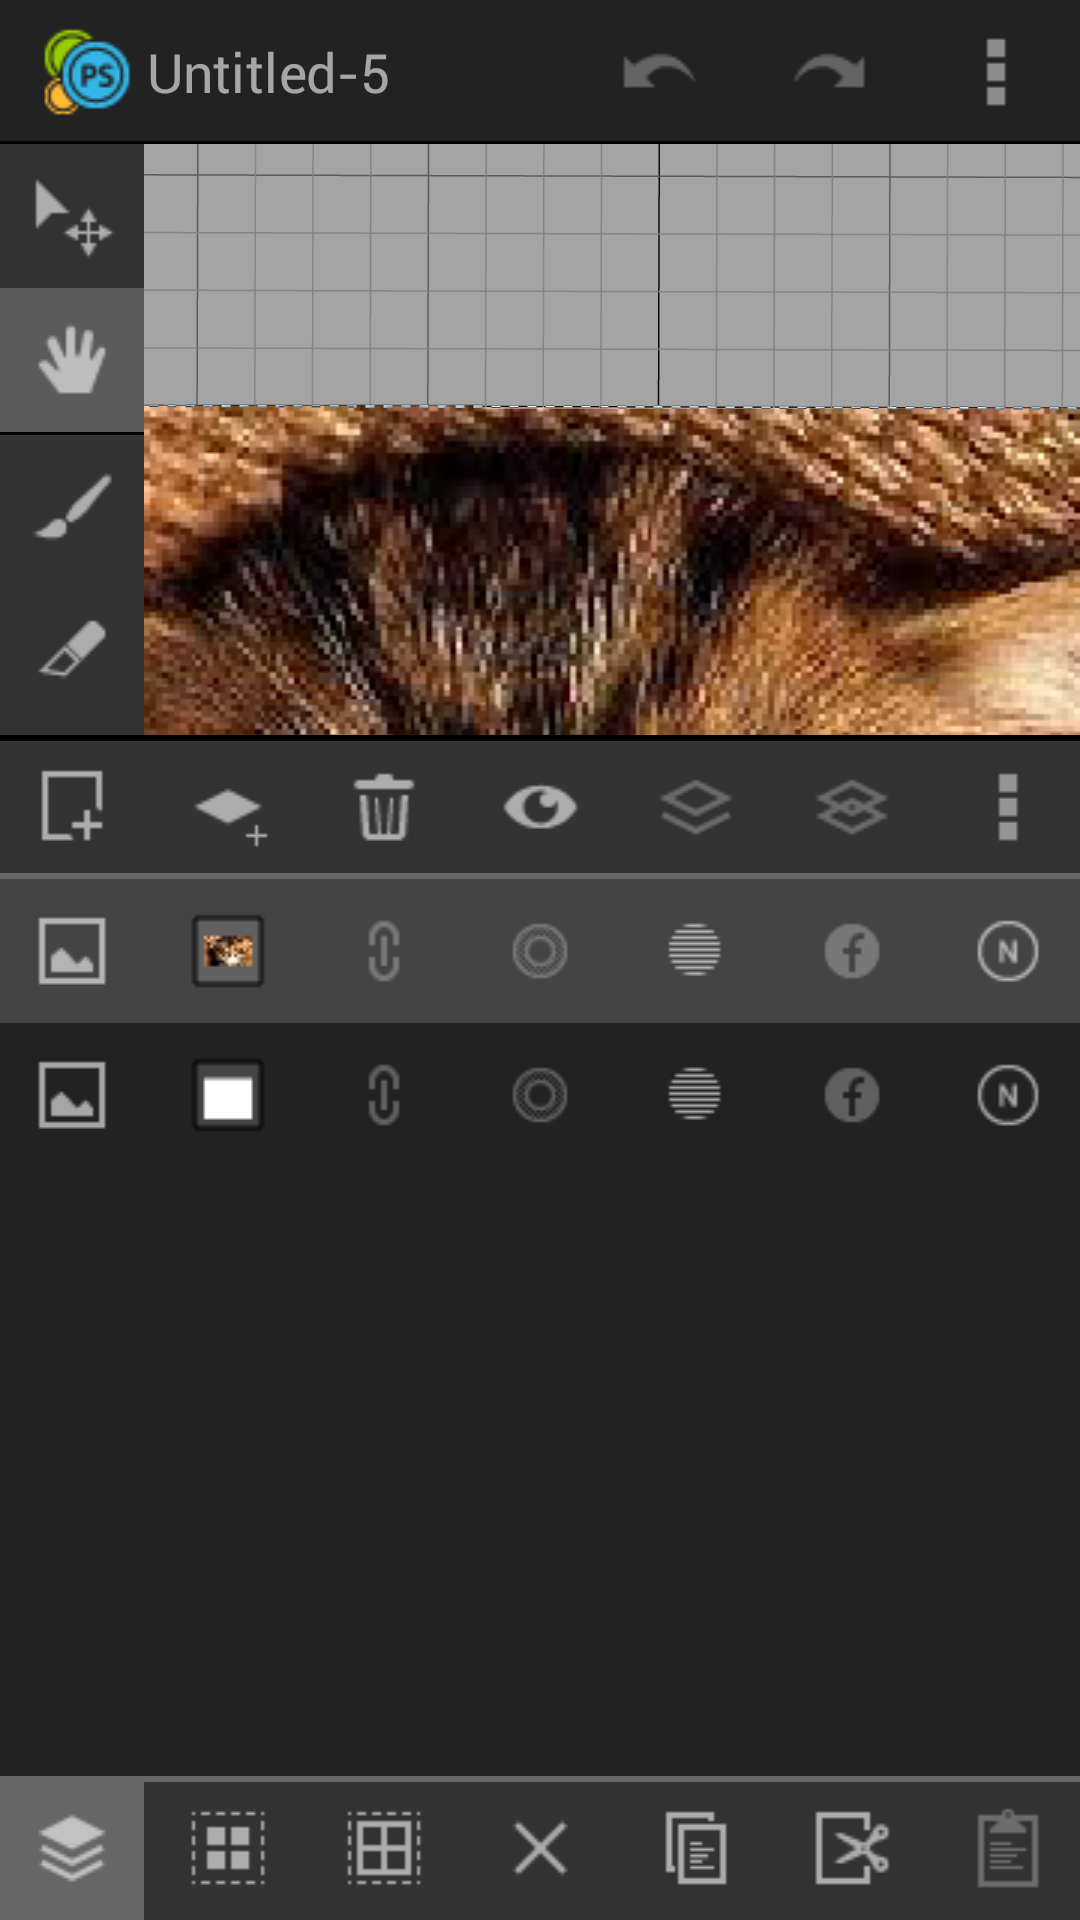
You can manage the layers of the working project in the layers table.
MobiSystems PhotoSuite supports two layer types : image and text. While you can draw strokes, fill and erase areas of pixel data, you can edit the text content and paint of a text layer. Text layer can be converted to an image layer once you are done with the text editing.
Open layers table → New layer
The New layer button creates an empty (transparent) layer and puts it on the top of the layers stack so it will be drawn last. Initially the layer contains no data. It is empty and transparent - so the project image has no visual difference until you start drawing on that layer.
Instead of sketching your artwork you can insert photos from your phone's gallery or take a camera shot that will be inserted on the top of the stack as a new layer in the working project.
To insert a photo from your phone gallery: Open sidebar menu → Gallery → Select a photo and confirm.
To insert a camera shot: Open the sidebar menu → Camera → Take the shot and confirm.
Main toolbar → Text button → Text view
The text view toolbar contains several buttons:
To learn more about Pixel selection, please read Working with selection section.
Open a project and select an image layer from the layers table. Select an area from the layer with the selection tool. From the overflow menu cut or copy that area. The Paste selection option should now be enabled and you can paste the copied area in your project. As a result, a new image layer will be created and positioned on top of the layer stack.
Please note that cut/copy/paste options are not enabled if the selected layer is of 'text' type.
All layer types share some common properties and can be managed by some common tools.
Open layers table → Select one or more layers → Tap the delete button → Confirm the deletetion.
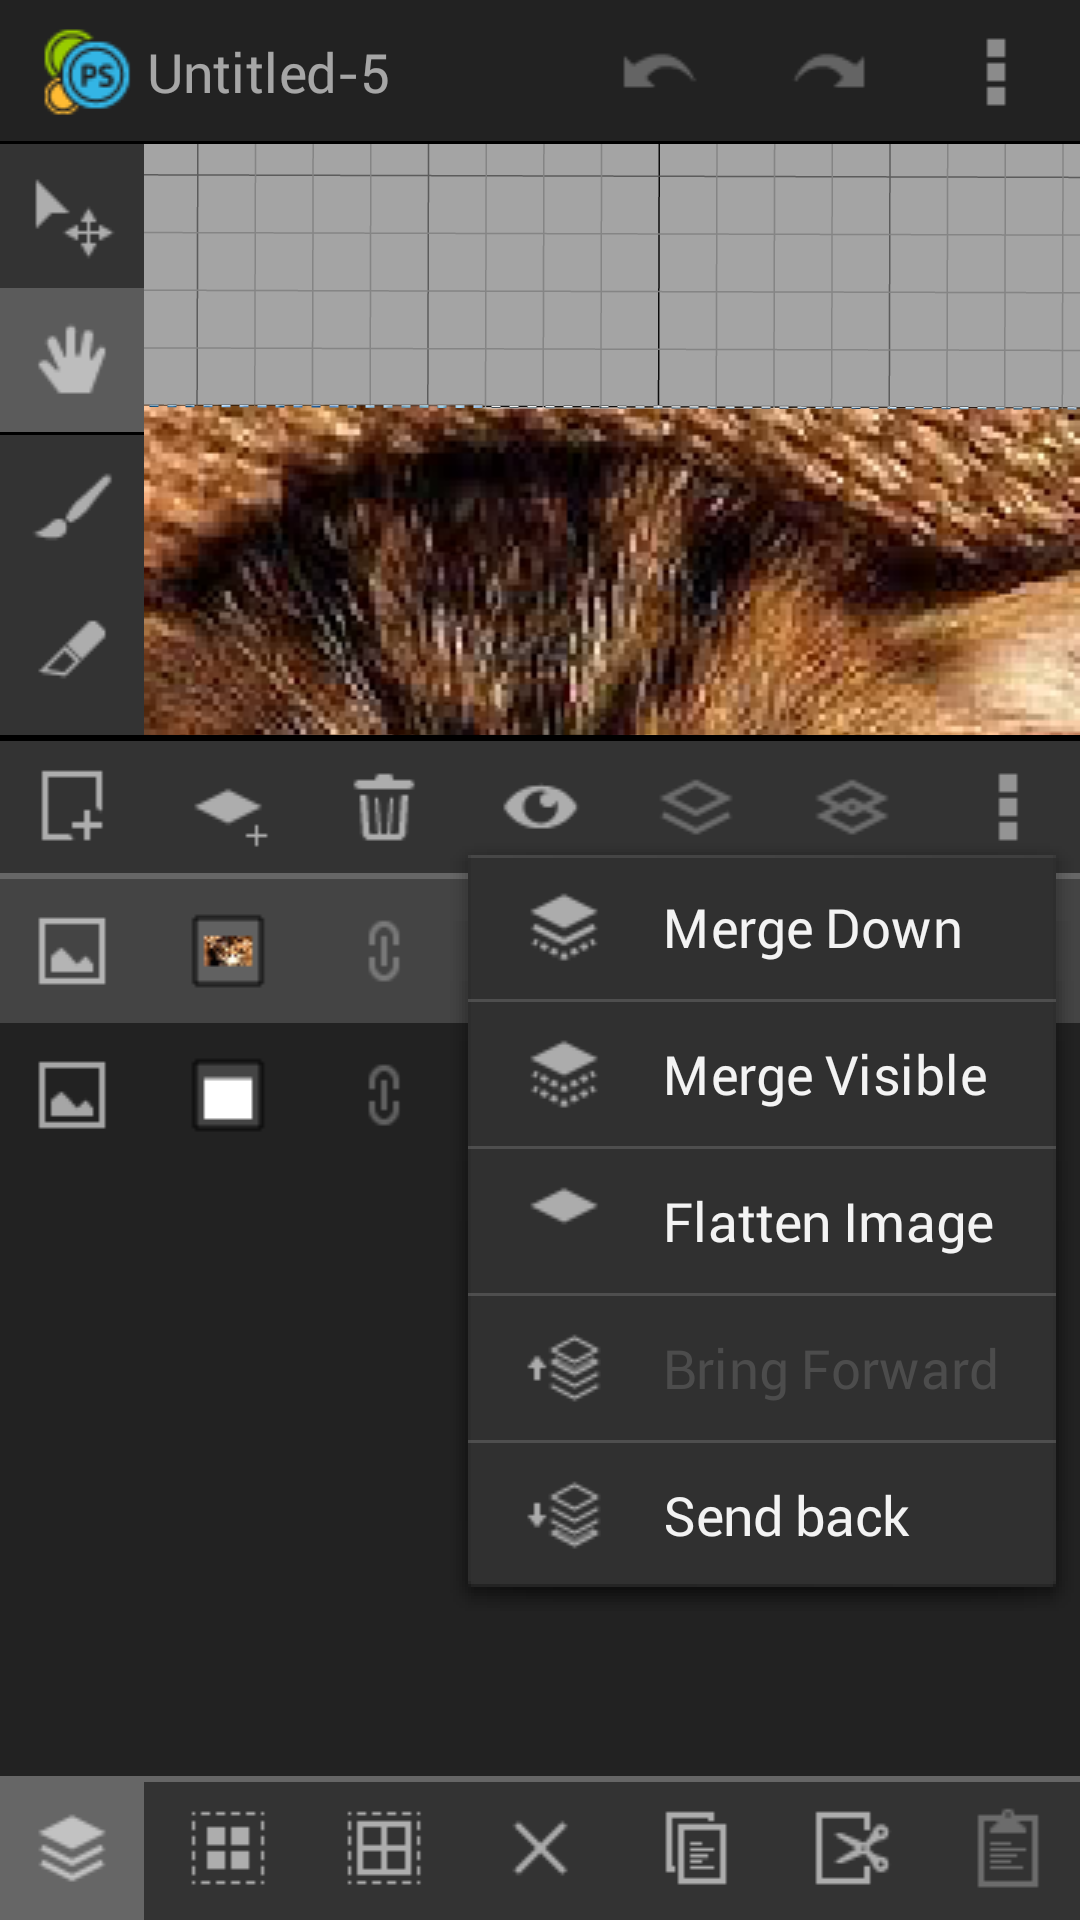
Open the layers table → Open the overflow menu → Select Merge down.
If you have one selected layer, it will be merged with the bottom layer. If the selected layers are more than one, they will be merged into a single image layer.
Open the layers table → Open the overflow menu → Merge visible.
Merge visible is similar to merge down operation. It merges all visible layers into a single image layer.
Layers are drawn in the order they were created. However, you can change the order anytime you want.
One way to move a layer to a different position is to open the layers table, hold the first icon of the layer row for a second and then drag the layer to the desired position.
To move a layer one position up or down, open the layers table, select the layer and tap on "Send back" or "Bring forward" options from the layers table overflow menu.
Another way to move a layer up or down is to select the layer thumbnail in the bottom toolbar of the editor and tap on that layer one more time. The layer data toolbar will appear on the screen. Select Bring forward or Send back option to move the selected layer to the desired position.
To create a copy of a layer, open the layers table, select the layer by tapping on the first icon of the layer row. Tap on Copy button to store the layer to the clipboard and then the Paste button to paste it.
While you are working with a specific layer from the working project you might want to hide temporarily some other layers.
Open the layers table, select the layer you want to hide and tap on the Toggle visibility button.
If you want to work with a specific layer and hide all the other layers: Open layers table and double tap on the thumbnail icon.
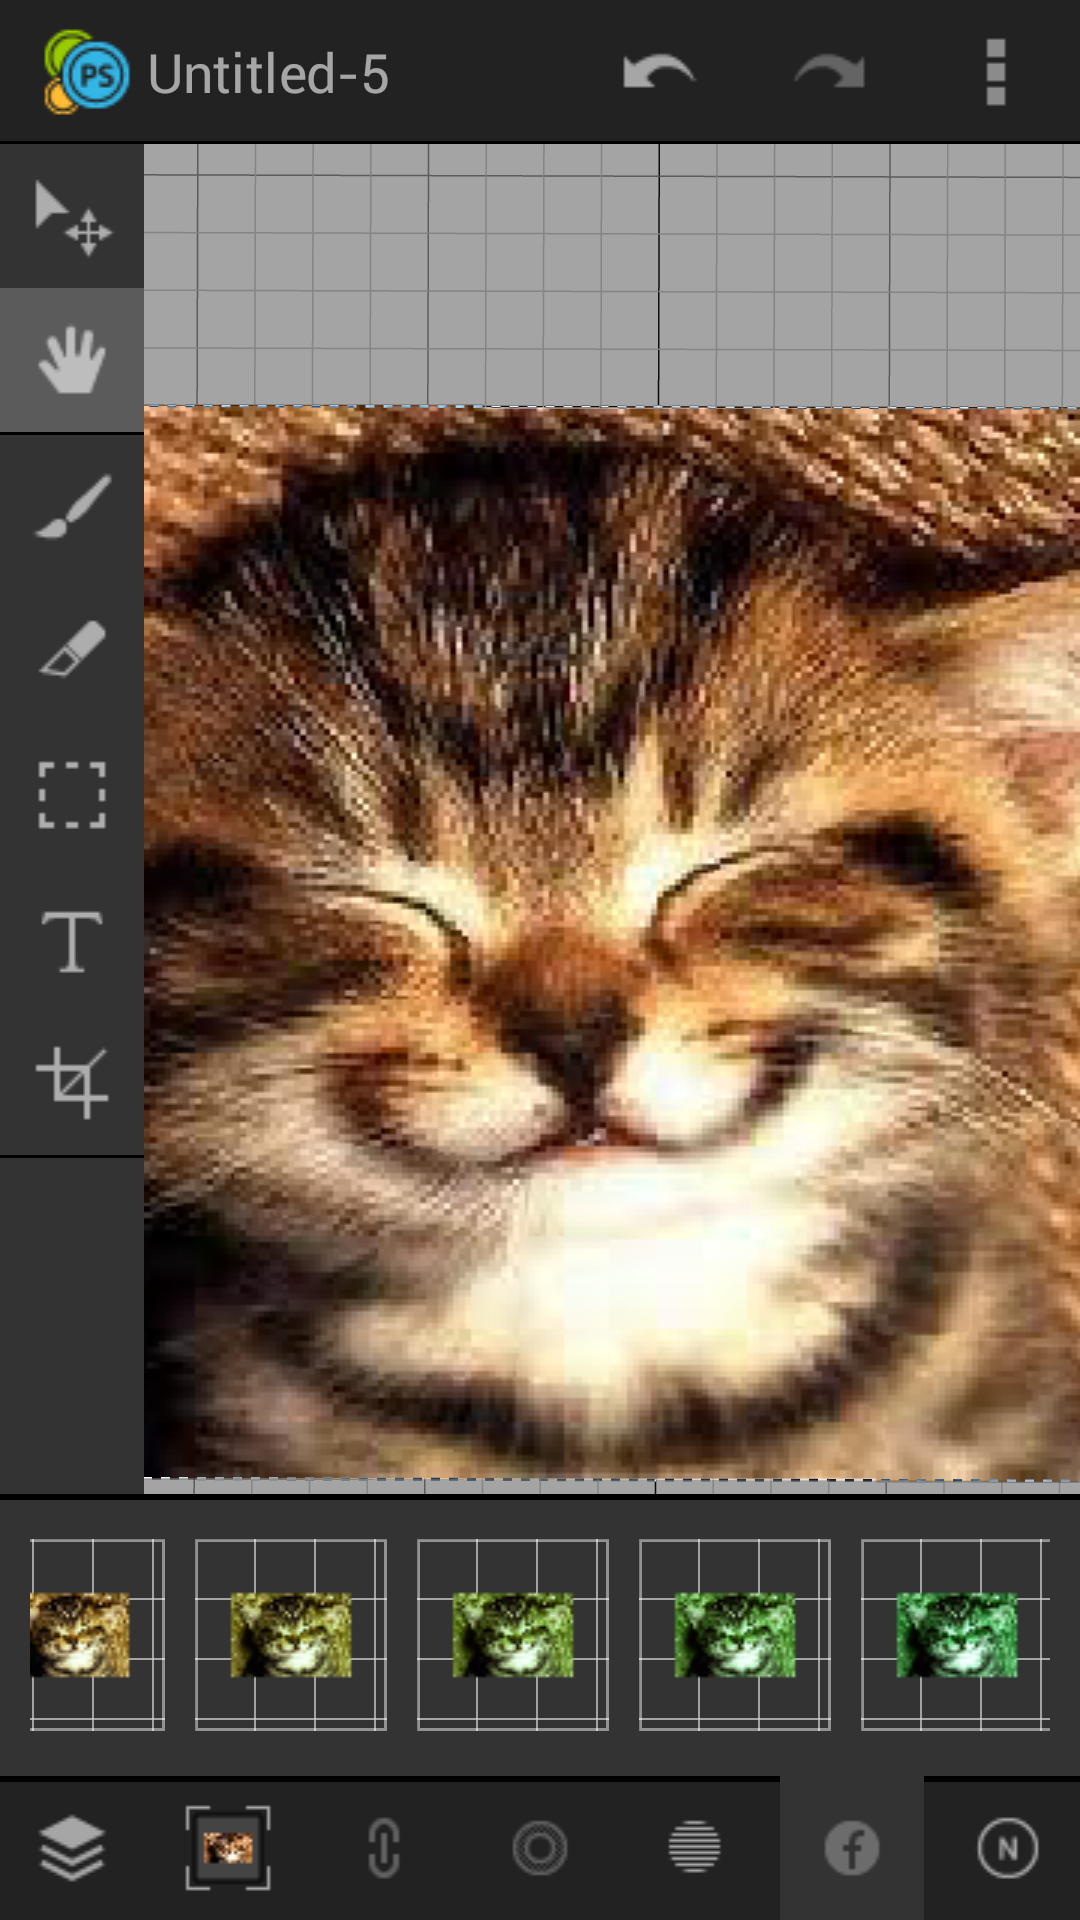
MobiSystems PhotoSuite Supports several color effects that can quickly modify the appearance of your layer.
Select a layer, tap on the fx button and the Effects panel will appear. Tap on an icon to select the effect, tap on different effect icon select another effect.
To remove the effect from a layer: open Effects panel and tap on the effect icon to deselect it.
You can remove an effect from the layers table as well: open the layers table, tap the fx icon on the layer's row and tap the Delete button from the layers table toolbar.
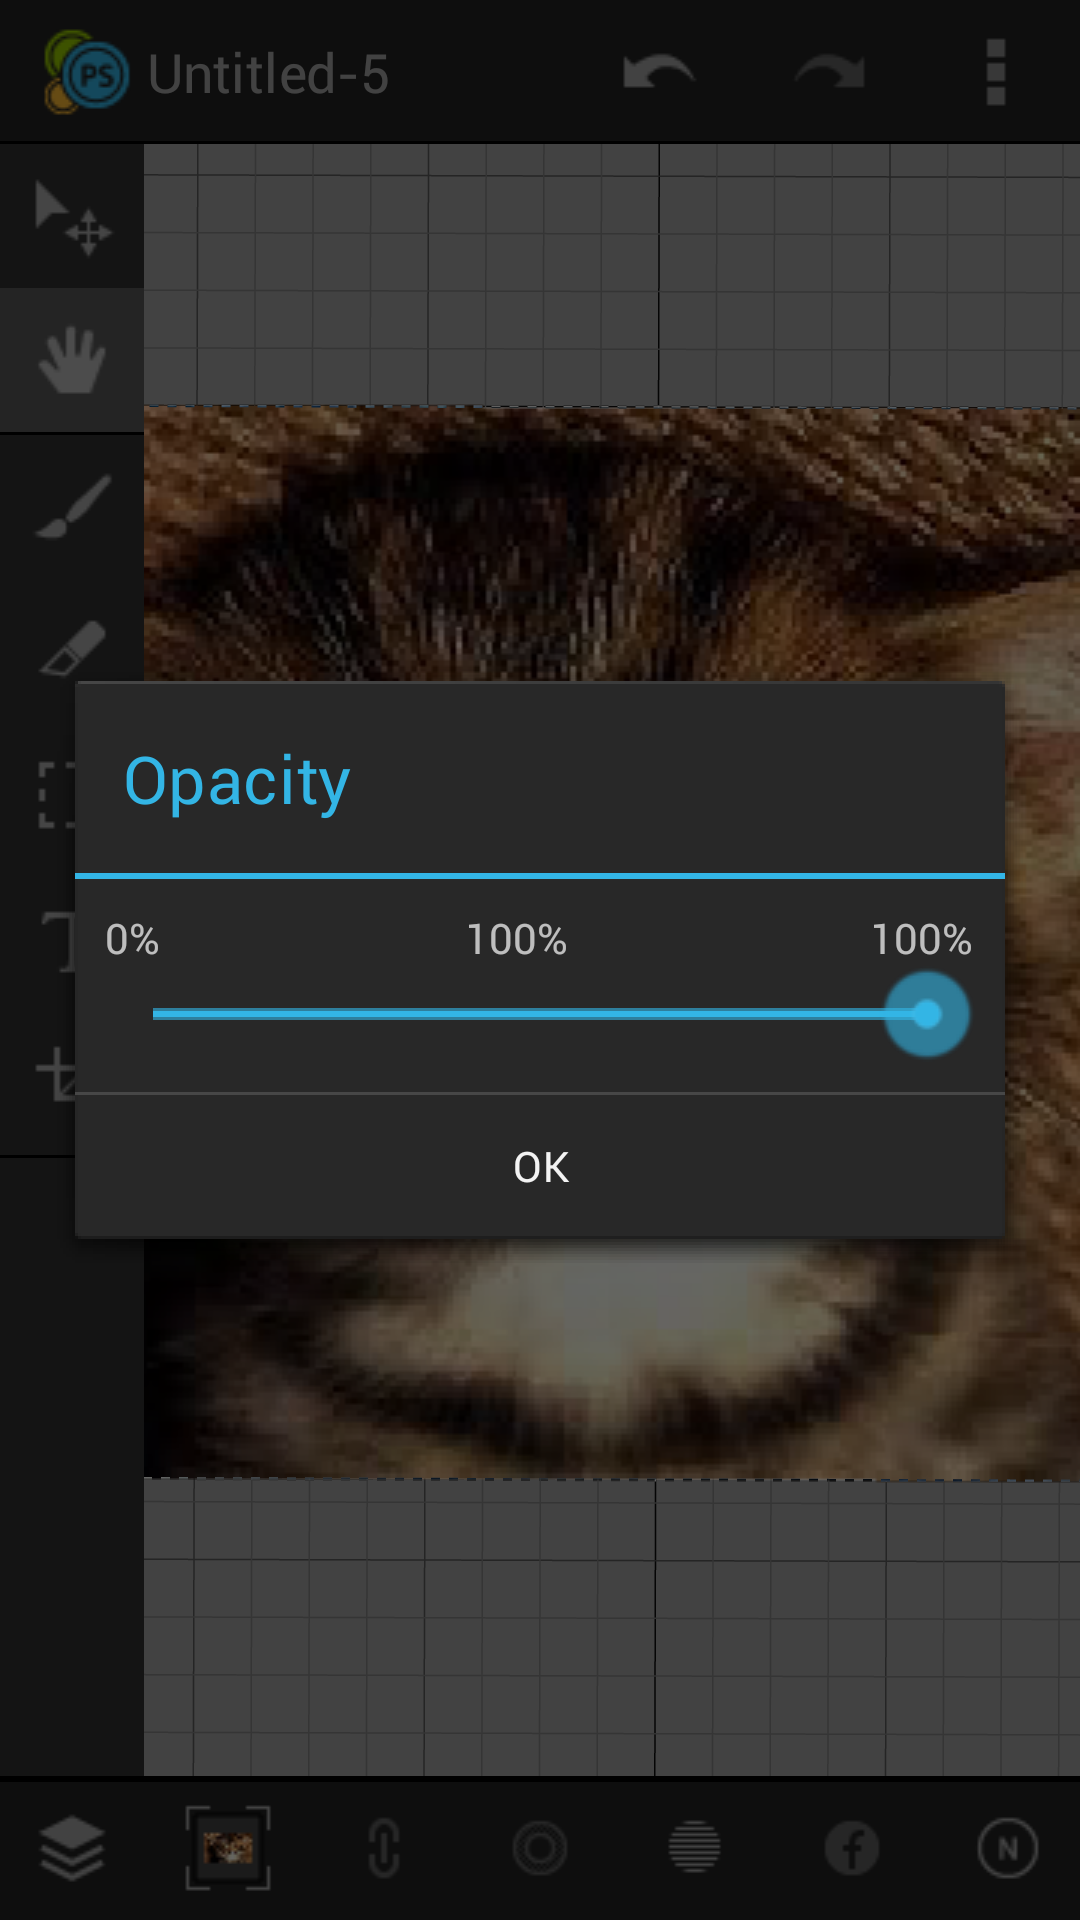
You can modify the transparency of the selected layer. Tap on the Opacity button from the editor's bottom toolbar and adjust the value in the transparency dialog.
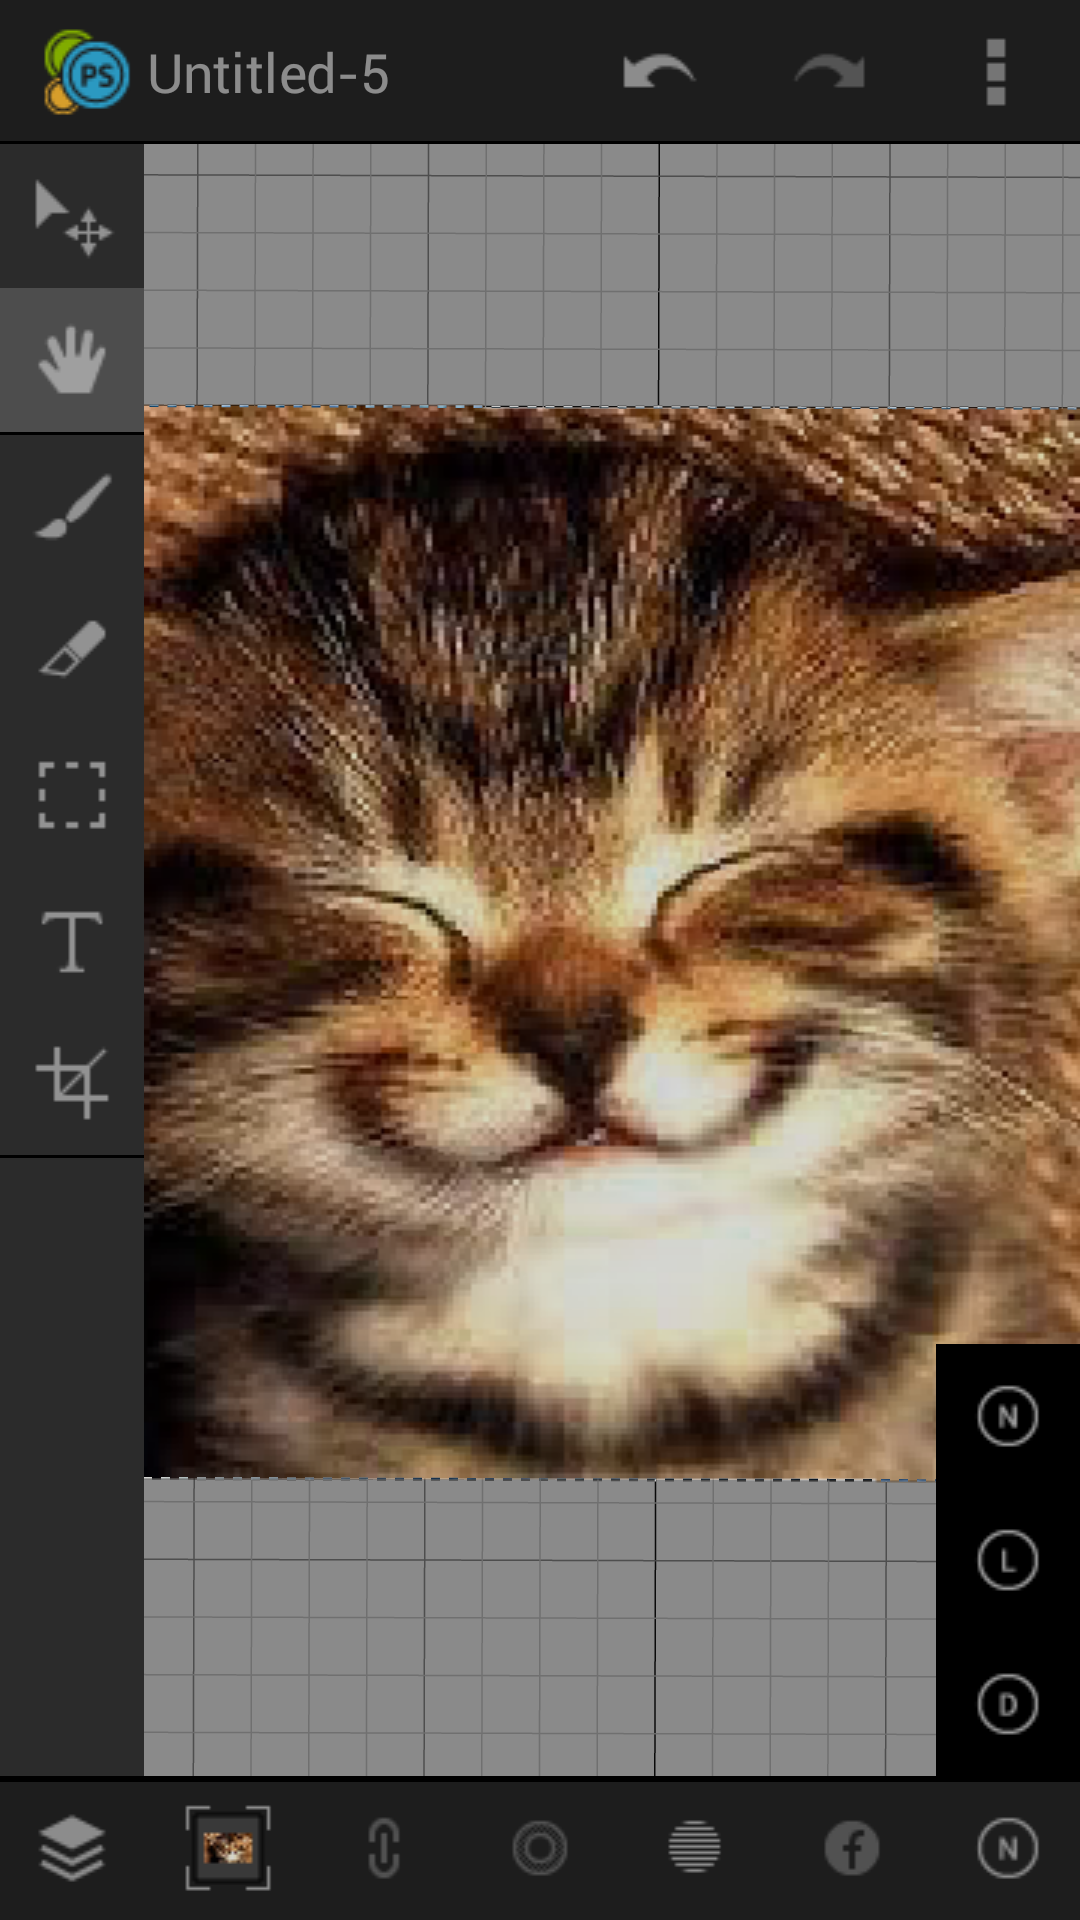
Tap on the Blend mode button from the editor's bottom toolbar and select one of the blending modes.
Image layers are just like separate images. You can draw and erase on an image layer, apply filters and transform the layer.

Tap on the Brush button from the main toolbar of the editor. The Brush tool view will appear.
There are several tools available in the Brush view:
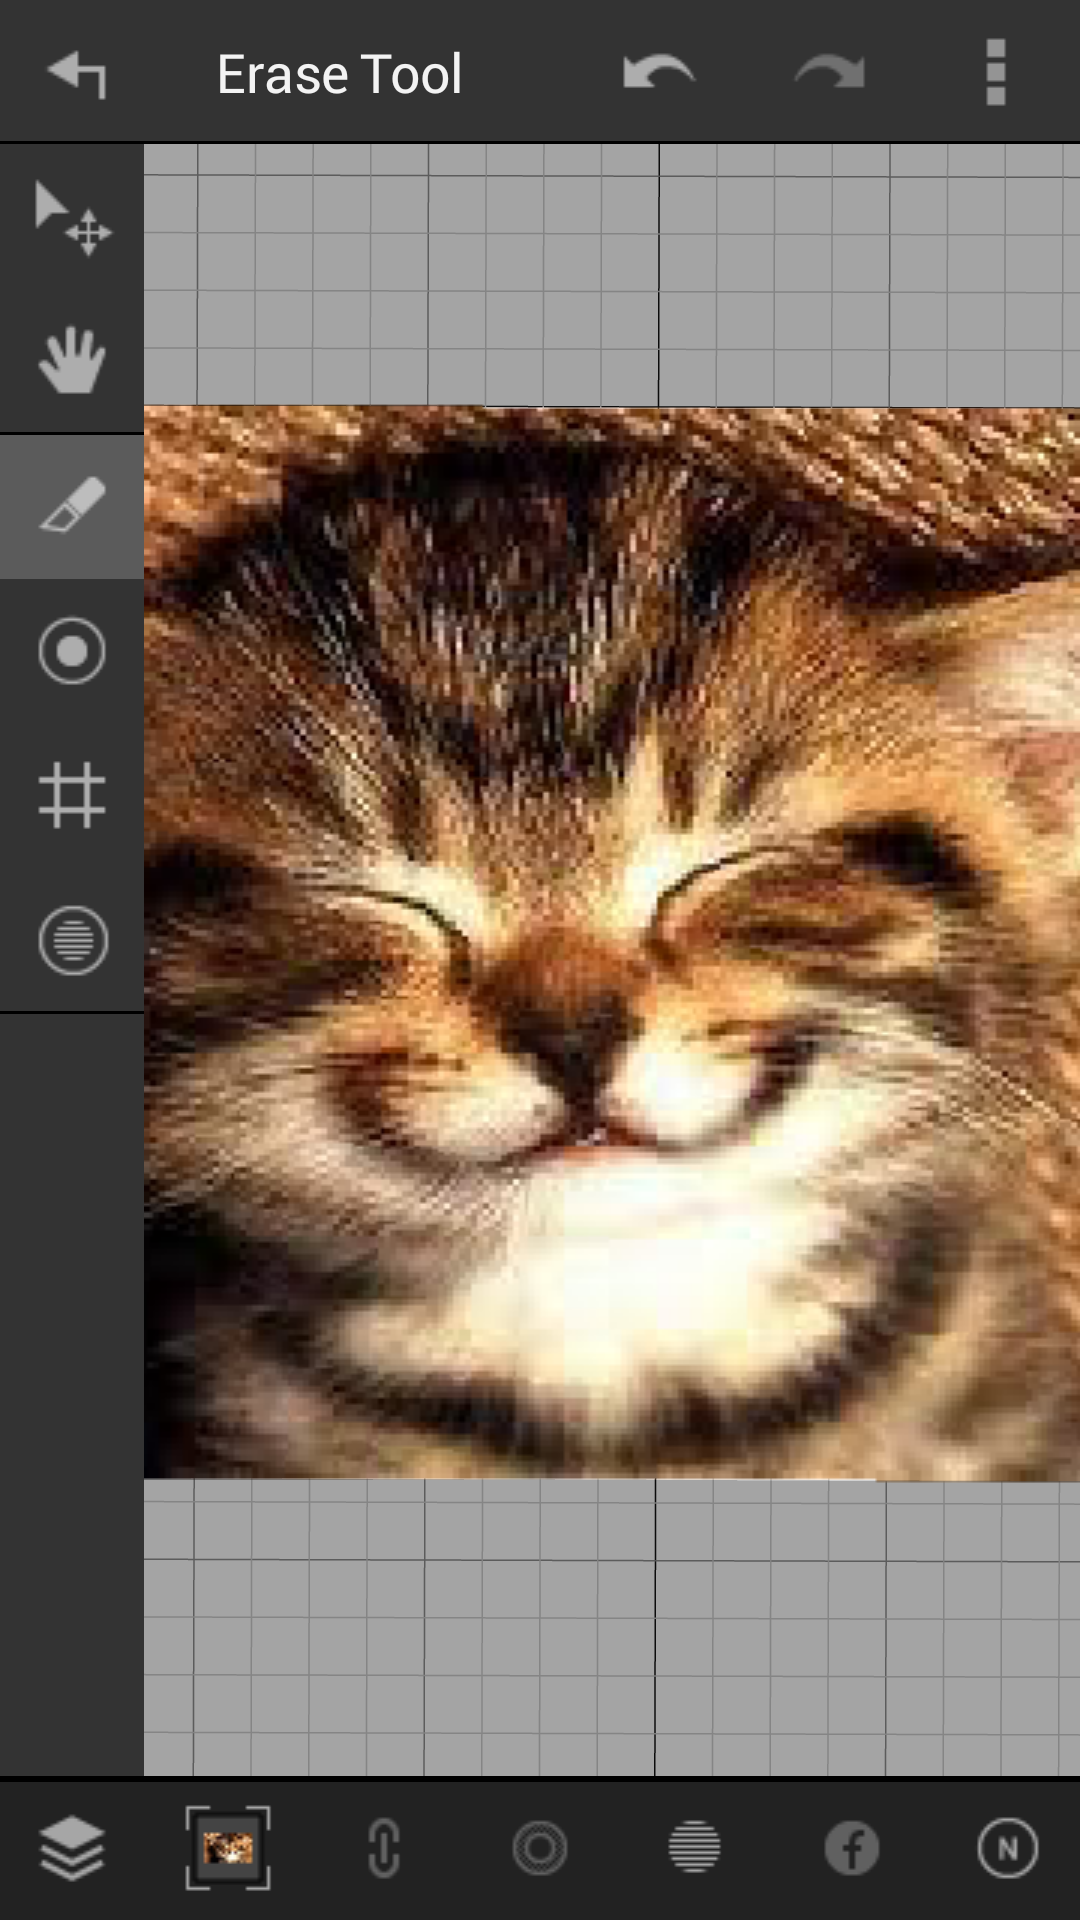
Tap on the Erase button from the main toolbar of the editor. The Erase tool view will appear.
There are several tools available in the Erase view.
Transforming scales, rotates, skews, stretches, or warps an image. You can apply transformations to a selection, an entire layer, multiple layers, or a layer mask.
Select the layer you want to transform and select the Transform tool.
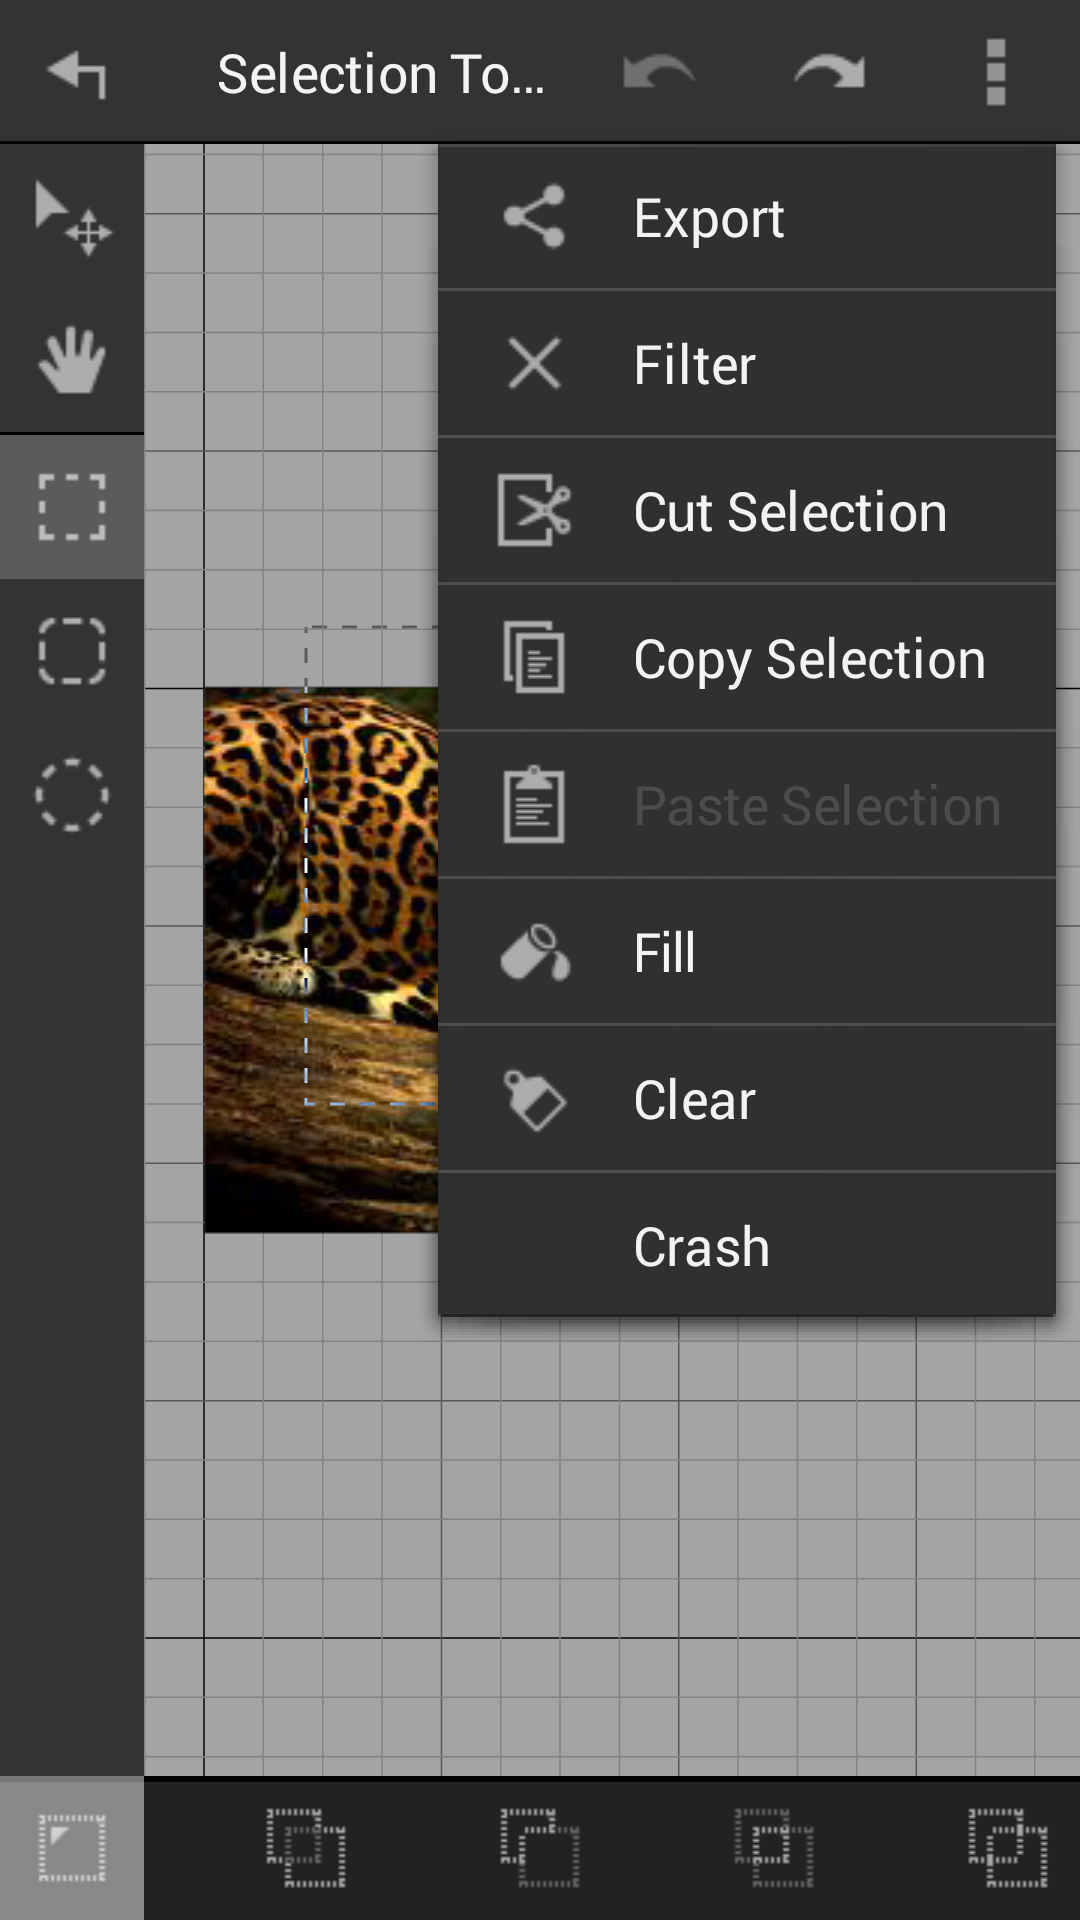
You can fill the area inside an image layer with a solid color. You need to define selection region (to learn how to use selection please read Working with selections). From the overflow menu tap on Fill option and the selected region will fill up with the fore color.

MobiSystems PhotoSuite supports a number of image filters that can be applied to your image layer. Open the overflow menu and tap on the Filter option. The Filters dialog will appear. Select a filter and confirm.
From the main toolbar tap on the text tool. Select a rectangular area on the screen and the text dialog will appear. Type the characters you want. The result of this operation is a single text layer.
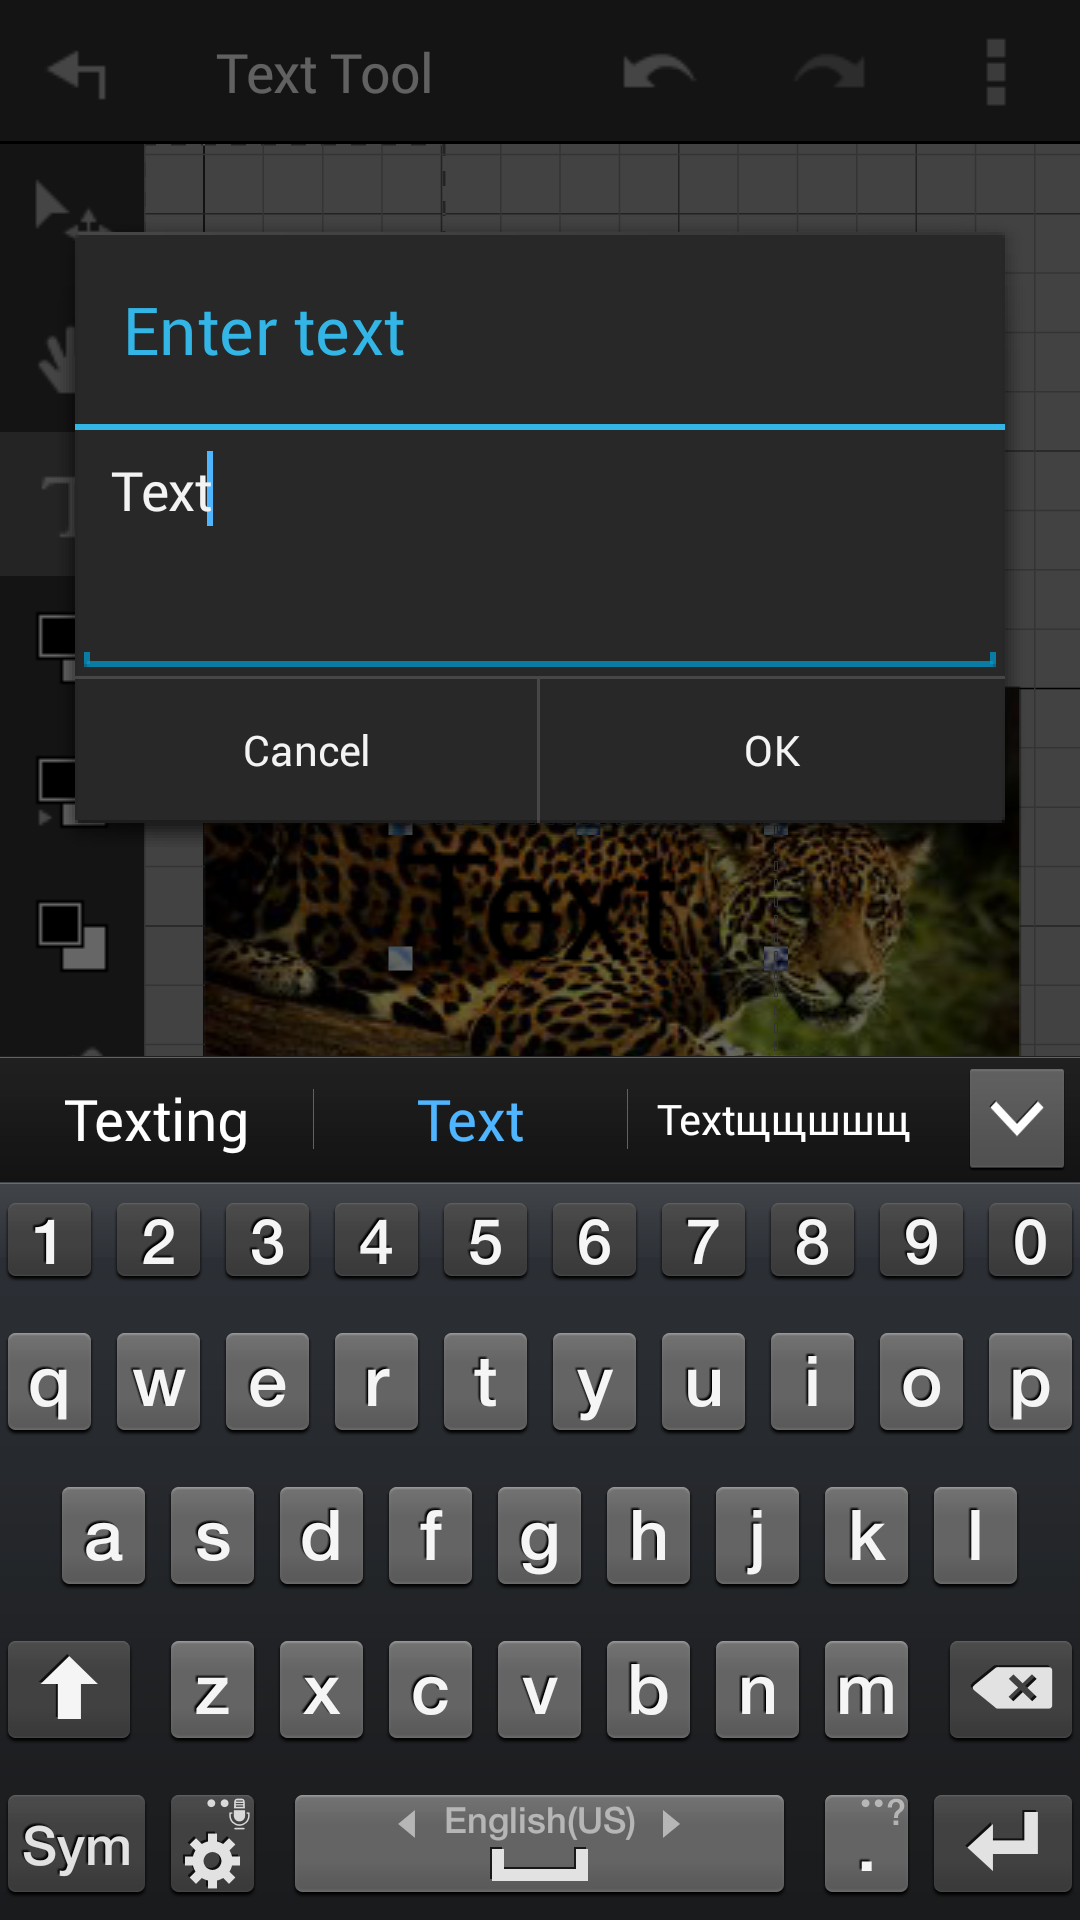
If you need to edit the content of a text layer you can do that using the text tool.
A text layer is wrapped within the bounding box defined when you created the text layer. You can always change the bounding box of the text layer using the text tool.
Initially the text layer you create will have the current foreground color. You can always change the color using the text tool.
As your project grows you might want to organize layers that are related to each other or may be similar. MobiSystems PhotoSuite allows you to create unlimited number of groups which act like a virtual folders and sub-folders to place layers into.
Groups allow you to organize the layers of a project. You can apply some layer operation to groups.
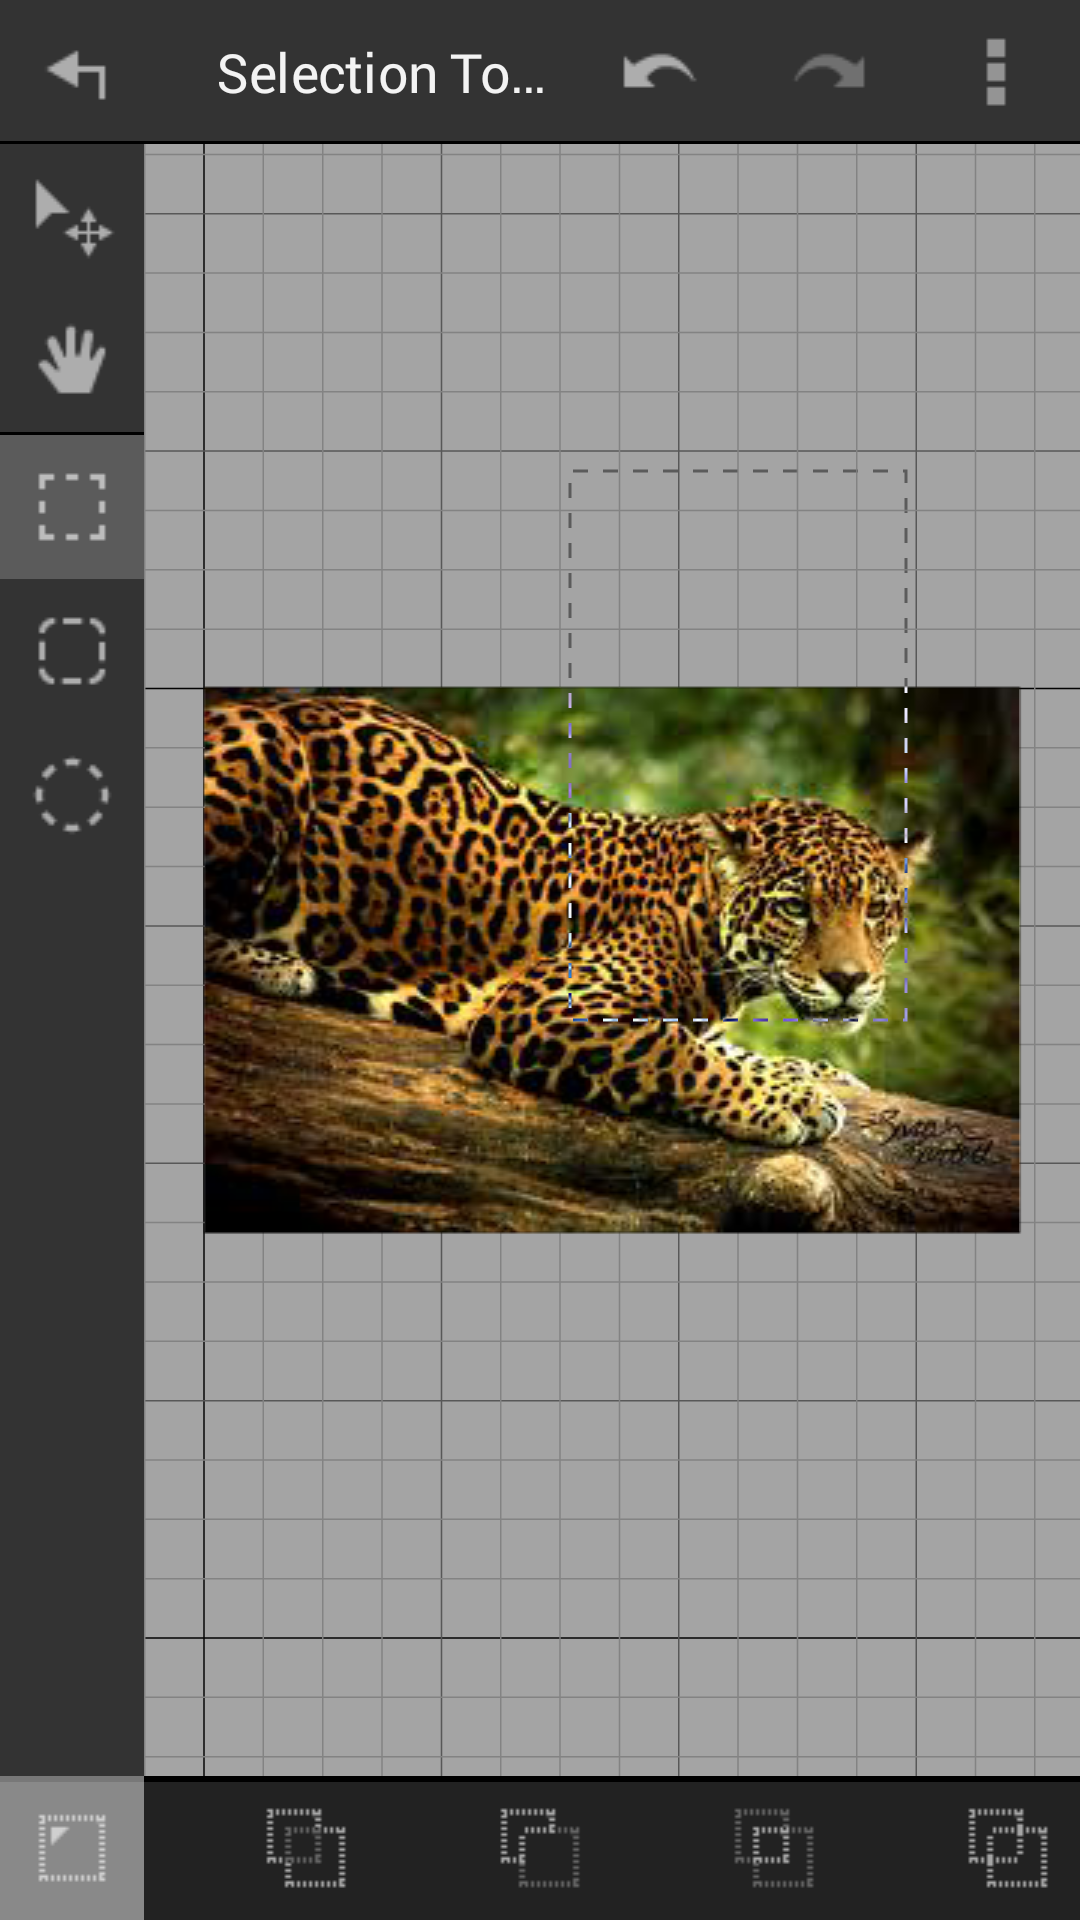
Selection isolates one or more areas from a layer. By selecting specific areas you can restrict the brush strokes you draw on your image or reposition those areas by using the transform tool. You can cut and copy selected pixels as well as fill those pixels with specific color.
To make a selection, tap the Selection tool button from the main toolbar. Select the desired selection shape from the lefthand side toolbar of the Selection view. Draw the selection shape on the screen to define the isolated area. If you already have defined selection, you can use the operation options from the bottom toolbar to add to, subtract from or intersect with the current selection.
If you want to select the contour of your layer you can open the layer data context menu and tap on the Set new selection button. If you already have selection on your screen, you can add to, subtract from or intersect with the contour of your layer by using the corresponding options from the layer data context menu.
Since the layer mask is a gray-scale image, you can use its contour to define the selection the same way you would use the layer's contour. Open the layer mask context menu and use the selection options.
To remove a selection, tap on Selection tool button from the main toolbar. Once your selection tool is active, tap anywhere on the layers editor to remove the selection.
As long as the selection tool is active you can transform the shape of the selection. Tap on the Transform selection shape button from the lefthand side menu and translate, rotate or skew the selection boundaries.
If the currently selected layer is of image type, you can transform the isolated area using the transform tool.
You can cut/copy and paste areas from an image layer. Use the Selection tool to define the desired areas and open the main menu to perform the operations. Please note that performing paste creates a new image layer containing the copied data.
A layer mask is a valuable property of a layer. A mask can completely or partially hide parts of a layer which allows you to combine multiple layer into a single image without losing pixel data.
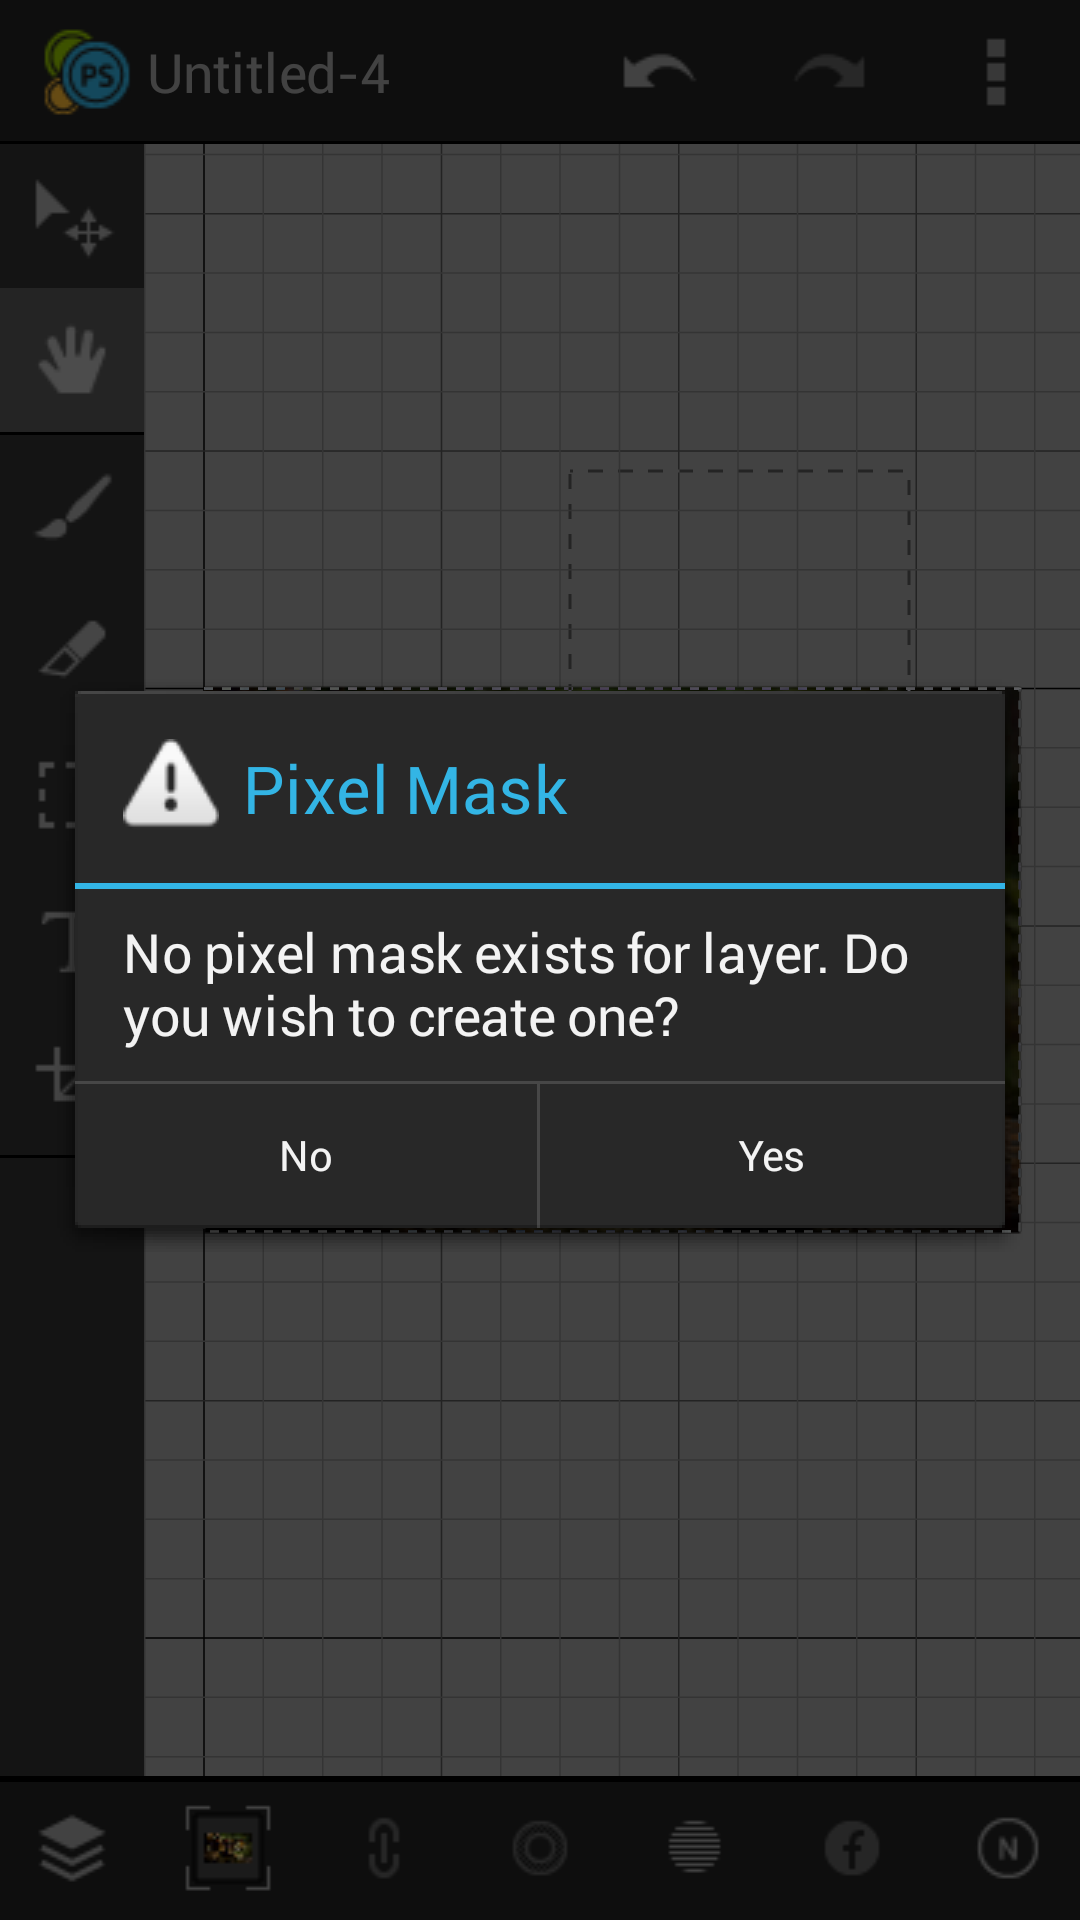
There are two ways to create a mask - by using a selection or by drawing the mask from scratch.
To create a layer mask from a selection:
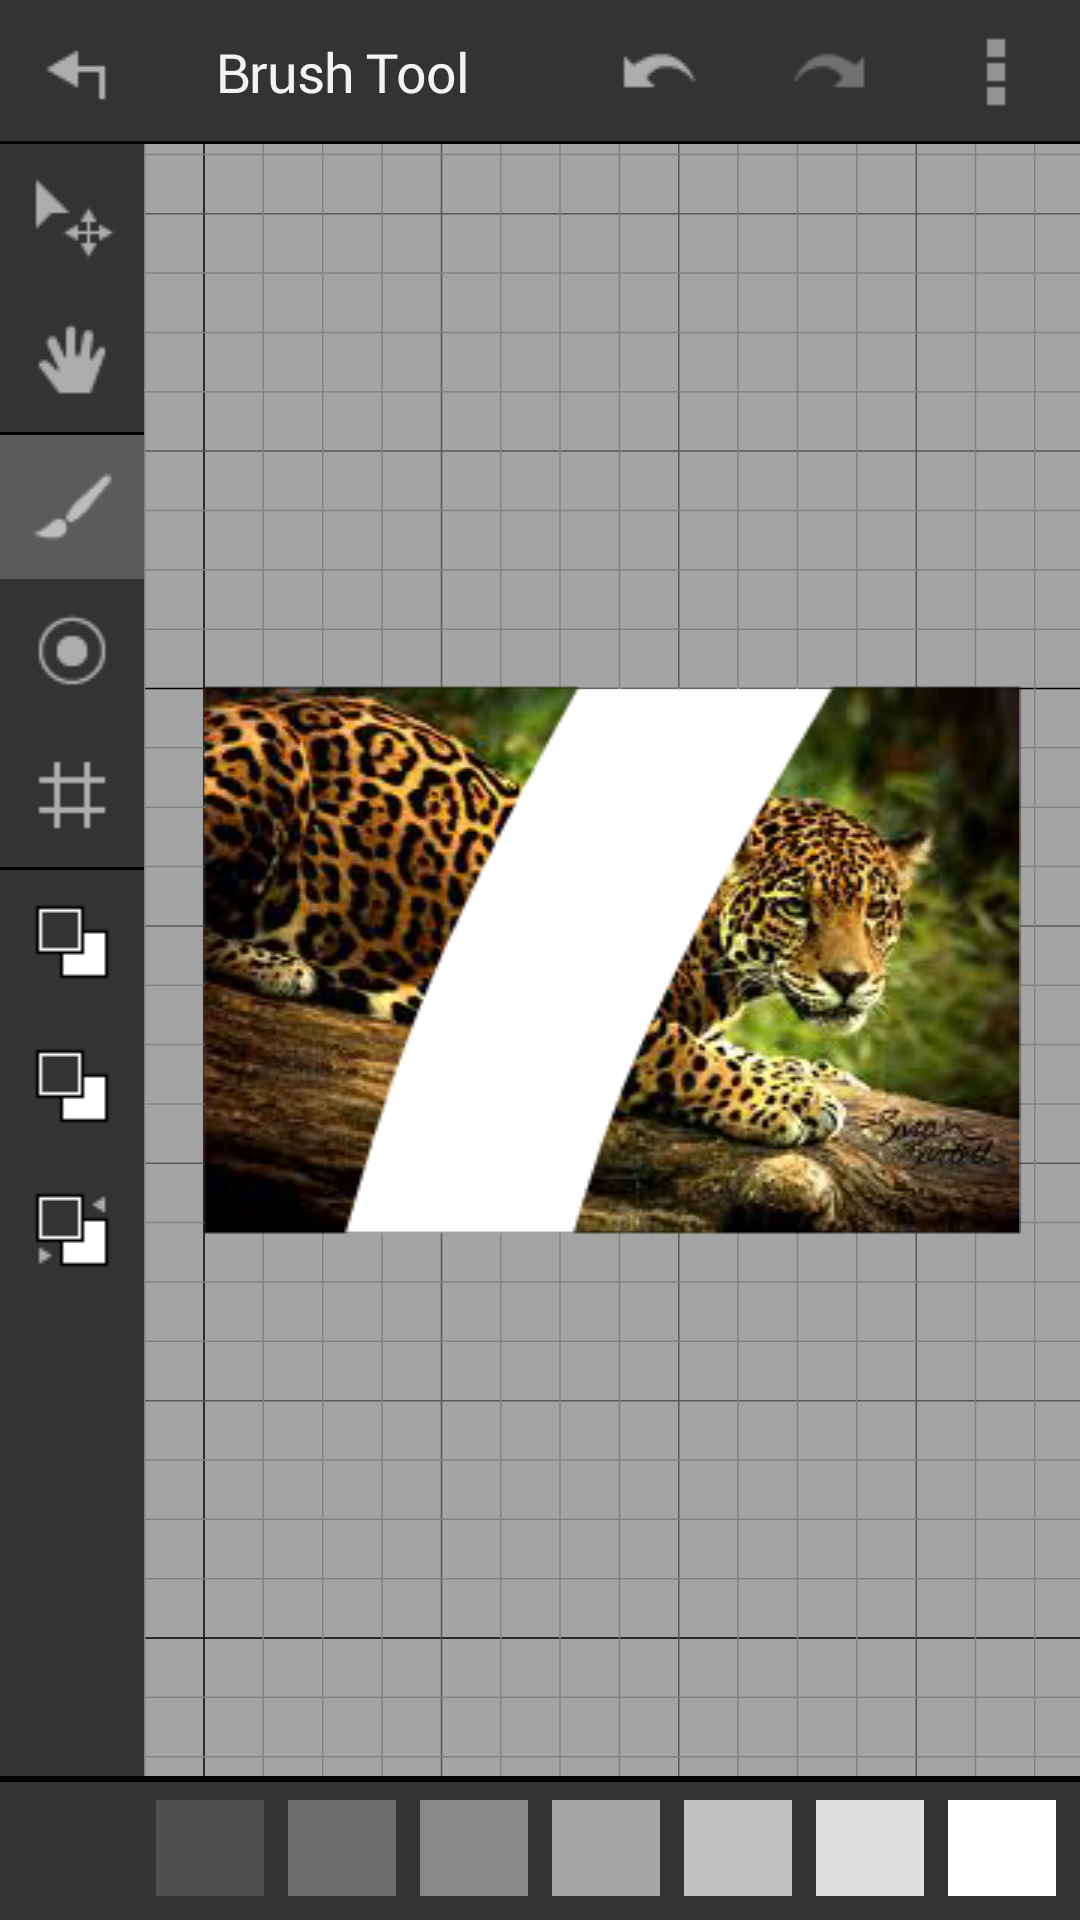
To create a layer mask from scratch:
You can disable/enable a layer mask from the layers table or from the layer mask context menu.
Open the layers table and select the layer mask you want to disable. Tap on the visibility toggle button to apply the operation.
If your layer mask is selected tap twice on the layer mask button from the layers toolbar. The layer mask context menu is now visible. Select thetoggle visibility button to enable or disable the mask.
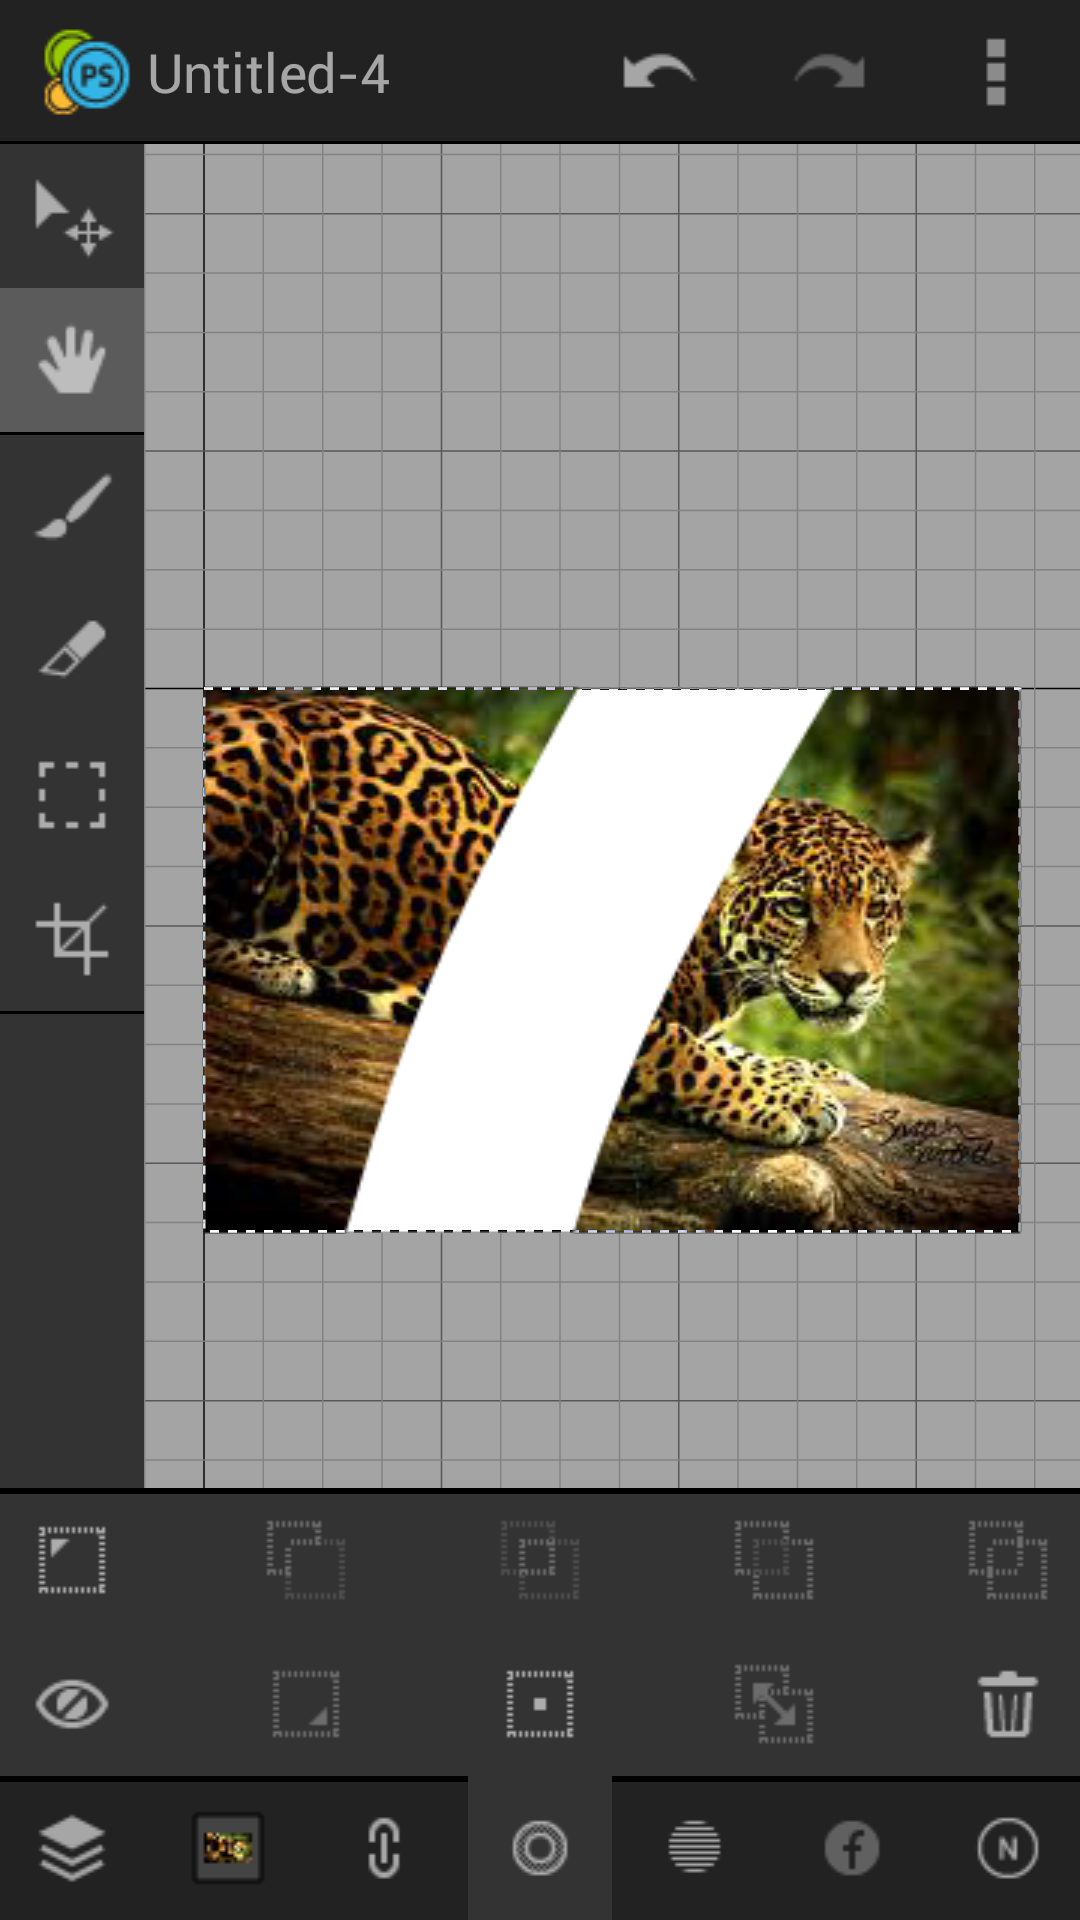
Open the layers table and select the layer mask you want to delete. Now tap on the Delete button from the table toolbar. The layer will remain intact but the mask associated with it will be deleted.
You can think of a mask as for a gray-scale image. You can not only draw and erase strokes on it but you can transform it as well.
Make sure that the layer mask button from the layer menu is selected. Tap on the transform tool button and now you can translate, rotate or skew the pixel mask.